
Elementor Widget Part 3: Building the Basic Widget Structure
# Introduction
We’ll now create the Collection Products widget files, add its controls and register it with Elementor.
# Learning Objectives
By the end of this tutorial, you will:
- Create the widget PHP files in the correct structure
- Implement a complete widget class with all required methods
- Register the widget with Elementor
- Add basic query controls (products per page, order, category)
- Add display controls (show/hide filters and sorting)
- Test the widget in the Elementor editor
- Understand how to organize widget files
# Step 1: Create Widget Files
We’ll create two PHP files to keep our code organized:
- collection-products-widget.php – The main widget class
- collection-products-register.php – Registration and helper functions
# 1.1 Create the Widget Class File
Create a new file at wp-content/themes/hello-biz-child/widgets/collection-products/collection-products-widget.php:
<?php
/**
 * Collection Products Widget for Elementor
 */

if ( ! defined( 'ABSPATH' ) ) {
    exit; // Exit if accessed directly.
}

class Collection_Products_Widget extends \Elementor\Widget_Base {

    /**
     * Get widget name.
     *
     * @return string Widget name.
     */
    public function get_name() {
        return 'collection_products';
    }

    /**
     * Get widget title.
     *
     * @return string Widget title.
     */
    public function get_title() {
        return __( 'Collection Products', 'hello-biz-child' );
    }

    /**
     * Get widget icon.
     *
     * @return string Widget icon.
     */
    public function get_icon() {
        return 'eicon-products';
    }

    /**
     * Get widget categories.
     *
     * @return array Widget categories.
     */
    public function get_categories() {
        return [ 'woocommerce-elements' ];
    }

    /**
     * Get widget keywords.
     *
     * @return array Widget keywords.
     */
    public function get_keywords() {
        return [ 'woocommerce', 'shop', 'store', 'products', 'collection' ];
    }

    /**
     * Register widget controls.
     */
    protected function register_controls() {
        // We'll add controls in the next steps
    }

    /**
     * Render widget output on the frontend.
     */
    protected function render() {
        echo '<div class="collection-products-wrapper">';
        echo '<p>' . __( 'Collection Products Widget - Coming Soon!', 'hello-biz-child' ) . '</p>';
        echo '</div>';
    }
}
Code Explanation:
- Security Check:
if ( ! defined( 'ABSPATH' ) )prevents direct file access - Class Declaration: Extends
\Elementor\Widget_Base - get_name(): Returns unique identifier
collection_products - get_title(): Returns display name for the widget panel
- get_icon(): Uses Elementor’s products icon
- get_categories(): Places widget in WooCommerce elements category
- get_keywords(): Helps users find the widget via search
- register_controls(): Empty for now, we’ll add controls next
- render(): Simple placeholder output
# Step 2: Create Registration File
Create wp-content/themes/hello-biz-child/widgets/collection-products/collection-products-register.php:
<?php
/**
 * Register Elementor Collection Products Widget
 */

/**
 * Register the widget with Elementor.
 *
 * @param \Elementor\Widgets_Manager $widgets_manager Elementor widgets manager.
 * @return void
 */
function register_collection_product_widget( $widgets_manager ) {
    require_once( __DIR__ . '/collection-products-widget.php' );
    $widgets_manager->register( new \Collection_Products_Widget() );
}
add_action( 'elementor/widgets/register', 'register_collection_product_widget' );
Code Explanation:
- Function:
register_collection_product_widget()handles registration - require_once: Loads the widget class file
- register(): Registers a new instance of our widget
- Hook:
elementor/widgets/registeris fired when Elementor loads widgets
# Step 3: Include Registration File in functions.php
Open wp-content/themes/hello-biz-child/functions.php and add at the bottom:
// Include collection products widget registration
require_once get_stylesheet_directory() . '/widgets/collection-products/collection-products-register.php';
Complete functions.php should now look like:
<?php
/**
 * Theme functions and definitions.
 *
 * @package HelloBizChild
 */

if ( ! defined( 'ABSPATH' ) ) {
	exit; // Exit if accessed directly.
}

define( 'HELLO_BIZ_CHILD_VERSION', '1.0.0' );

/**
 * Load child theme scripts & styles.
 *
 * @return void
 */
function hello_biz_child_scripts_styles() {

	wp_enqueue_style(
		'hello-biz-child-style',
		get_stylesheet_directory_uri() . '/style.css',
		[
			'theme',
		],
		HELLO_BIZ_CHILD_VERSION
	);
}

add_action( 'wp_enqueue_scripts', 'hello_biz_child_scripts_styles', 20 );

// Include collection products widget registration
require_once get_stylesheet_directory() . '/widgets/collection-products/collection-products-register.php';
# Step 4: Test Basic Widget
Before adding more features, let’s test that the widget loads correctly.
# 4.1 Clear Cache
- Clear any WordPress caching plugins
- Clear browser cache
- If using object caching, flush it
# 4.2 Test in Elementor
- Go to Pages → Add New
- Give the page a title (e.g., “Widget Test”)
- Click Edit with Elementor
- In the left panel, search for “Collection Products”
- Drag the widget onto the page
- You should see “Collection Products Widget – Coming Soon!”
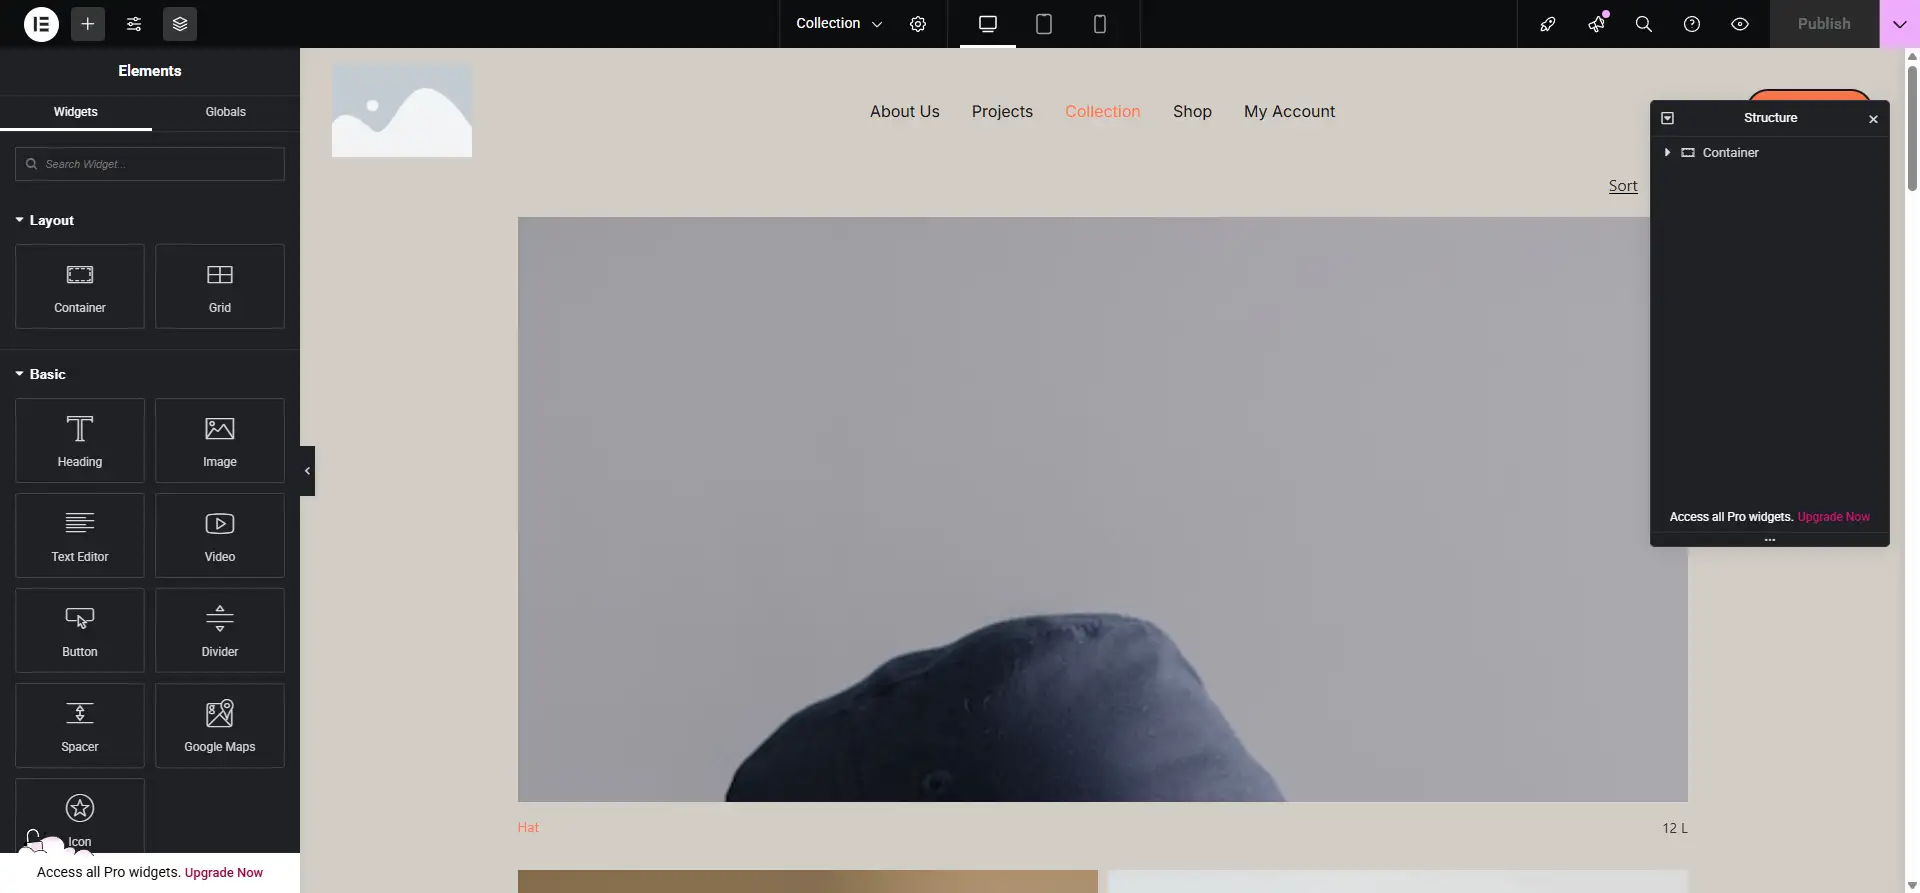
Collection Products widget in the Elementor editor
Troubleshooting:
If the widget doesn’t appear:
- Check for PHP errors (enable
WP_DEBUGin wp-config.php) - Verify file paths are correct
- Ensure WooCommerce is active
- Check that all files are saved properly
# Step 5: Add Query Controls
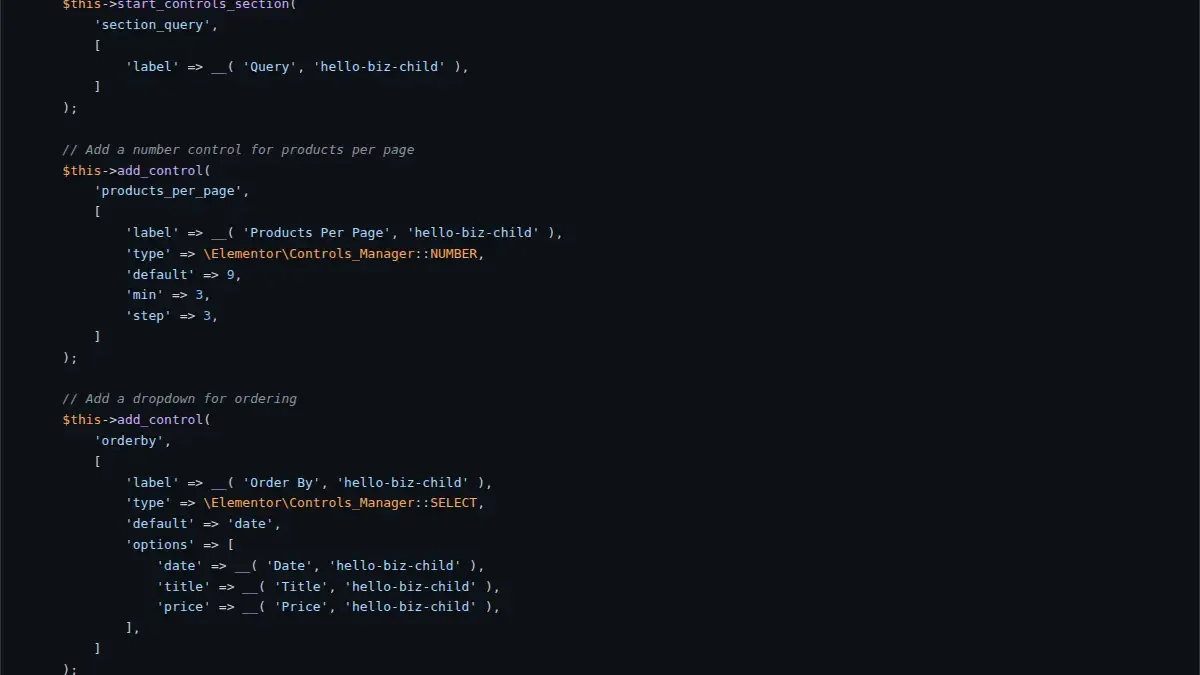
Now let’s add controls to configure product queries. Update the register_controls() method in collection-products-widget.php:
protected function register_controls() {

    // Query Section
    $this->start_controls_section(
        'section_query',
        [
            'label' => __( 'Query', 'hello-biz-child' ),
        ]
    );

    $this->add_control(
        'products_per_page',
        [
            'label' => __( 'Products Per Page', 'hello-biz-child' ),
            'type' => \Elementor\Controls_Manager::NUMBER,
            'default' => 9,
            'min' => 3,
            'step' => 3,
            'description' => __( 'Number of products to display', 'hello-biz-child' ),
        ]
    );

    $this->add_control(
        'orderby',
        [
            'label' => __( 'Order By', 'hello-biz-child' ),
            'type' => \Elementor\Controls_Manager::SELECT,
            'default' => 'date',
            'options' => [
                'date' => __( 'Date', 'hello-biz-child' ),
                'title' => __( 'Title', 'hello-biz-child' ),
                'price' => __( 'Price', 'hello-biz-child' ),
                'popularity' => __( 'Popularity', 'hello-biz-child' ),
                'rating' => __( 'Rating', 'hello-biz-child' ),
                'rand' => __( 'Random', 'hello-biz-child' ),
                'menu_order' => __( 'Menu Order', 'hello-biz-child' ),
            ],
        ]
    );

    $this->add_control(
        'order',
        [
            'label' => __( 'Order', 'hello-biz-child' ),
            'type' => \Elementor\Controls_Manager::SELECT,
            'default' => 'DESC',
            'options' => [
                'DESC' => __( 'Descending', 'hello-biz-child' ),
                'ASC' => __( 'Ascending', 'hello-biz-child' ),
            ],
        ]
    );

    $this->add_control(
        'category',
        [
            'label' => __( 'Category', 'hello-biz-child' ),
            'type' => \Elementor\Controls_Manager::SELECT2,
            'multiple' => true,
            'options' => $this->get_product_categories(),
            'label_block' => true,
            'description' => __( 'Select categories to filter products', 'hello-biz-child' ),
        ]
    );

    $this->add_control(
        'show_filters',
        [
            'label' => __( 'Show Filters', 'hello-biz-child' ),
            'type' => \Elementor\Controls_Manager::SWITCHER,
            'label_on' => __( 'Yes', 'hello-biz-child' ),
            'label_off' => __( 'No', 'hello-biz-child' ),
            'return_value' => 'yes',
            'default' => 'yes',
        ]
    );

    $this->add_control(
        'show_sorting',
        [
            'label' => __( 'Show Sorting', 'hello-biz-child' ),
            'type' => \Elementor\Controls_Manager::SWITCHER,
            'label_on' => __( 'Yes', 'hello-biz-child' ),
            'label_off' => __( 'No', 'hello-biz-child' ),
            'return_value' => 'yes',
            'default' => 'yes',
        ]
    );

    $this->end_controls_section();
}
Code Explanation:
- Products Per Page: Number control with default of 9, minimum 3, step of 3
- Order By: Dropdown with common sorting options
- Order: ASC or DESC
- Category: Multi-select dropdown of product categories
- Show Filters: Toggle to show/hide filter panel
- Show Sorting: Toggle to show/hide sorting dropdown
# Step 6: Add Helper Method for Categories
Add this helper method to the widget class (before or after register_controls()):
/**
 * Get product categories for control options.
 *
 * @return array Categories array.
 */
protected function get_product_categories() {
    $categories = get_terms( 'product_cat', [
        'hide_empty' => false,
    ] );

    $options = [];

    if ( ! empty( $categories ) && ! is_wp_error( $categories ) ) {
        foreach ( $categories as $category ) {
            $options[ $category->term_id ] = $category->name;
        }
    }

    return $options;
}
Code Explanation:
- get_terms(): Retrieves WooCommerce product categories
- hide_empty => false: Include categories with no products
- Returns: Array formatted for SELECT2 control
# Step 7: Add Style Controls
After the query section, add a style section:
// Style Section
$this->start_controls_section(
    'section_style',
    [
        'label' => __( 'Style', 'hello-biz-child' ),
        'tab' => \Elementor\Controls_Manager::TAB_STYLE,
    ]
);

$this->add_control(
    'gap',
    [
        'label' => __( 'Gap', 'hello-biz-child' ),
        'type' => \Elementor\Controls_Manager::SLIDER,
        'size_units' => [ 'px' ],
        'range' => [
            'px' => [
                'min' => 0,
                'max' => 50,
                'step' => 1,
            ],
        ],
        'default' => [
            'unit' => 'px',
            'size' => 10,
        ],
        'selectors' => [
            '{{WRAPPER}} .collection-products-grid' => 'gap: {{SIZE}}{{UNIT}};',
        ],
    ]
);

$this->end_controls_section();
Code Explanation:
- TAB_STYLE: Places this section in the Style tab
- SLIDER: Creates a range slider control
- selectors: Automatically applies CSS when slider changes
- {{WRAPPER}}: Replaced with unique widget selector
- {{SIZE}}{{UNIT}}: Replaced with selected value (e.g., “10px”)
# Step 8: Update Render Method
Update the render() method to display settings:
protected function render() {
    $settings = $this->get_settings_for_display();
    ?>
    <div class="collection-products-wrapper">
        <h3>Collection Products Widget</h3>
        <p><strong>Settings:</strong></p>
        <ul>
            <li>Products per page: <?php echo esc_html( $settings['products_per_page'] ); ?></li>
            <li>Order by: <?php echo esc_html( $settings['orderby'] ); ?></li>
            <li>Order: <?php echo esc_html( $settings['order'] ); ?></li>
            <li>Show filters: <?php echo esc_html( $settings['show_filters'] ); ?></li>
            <li>Show sorting: <?php echo esc_html( $settings['show_sorting'] ); ?></li>
        </ul>
    </div>
    <?php
}
This temporary render method helps us verify that settings are working correctly.
# Step 9: Test the Controls
- Refresh your Elementor editor page (or edit a new page)
- Add/re-add the Collection Products widget
- In the left panel, you should see:
- Content tab with Query section
- Style tab with Style section
- Try changing values:
- Set “Products Per Page” to 12
- Change “Order By” to “Price”
- Toggle “Show Filters” off and on
- Verify the values appear in the preview
# Complete Widget Code So Far
Here’s what your collection-products-widget.php should look like at this point:
<?php
/**
 * Collection Products Widget for Elementor
 */

if ( ! defined( 'ABSPATH' ) ) {
    exit; // Exit if accessed directly.
}

class Collection_Products_Widget extends \Elementor\Widget_Base {

    public function get_name() {
        return 'collection_products';
    }

    public function get_title() {
        return __( 'Collection Products', 'hello-biz-child' );
    }

    public function get_icon() {
        return 'eicon-products';
    }

    public function get_categories() {
        return [ 'woocommerce-elements' ];
    }

    public function get_keywords() {
        return [ 'woocommerce', 'shop', 'store', 'products', 'collection' ];
    }

    protected function register_controls() {

        $this->start_controls_section(
            'section_query',
            [
                'label' => __( 'Query', 'hello-biz-child' ),
            ]
        );

        $this->add_control(
            'products_per_page',
            [
                'label' => __( 'Products Per Page', 'hello-biz-child' ),
                'type' => \Elementor\Controls_Manager::NUMBER,
                'default' => 9,
                'min' => 3,
                'step' => 3,
            ]
        );

        $this->add_control(
            'orderby',
            [
                'label' => __( 'Order By', 'hello-biz-child' ),
                'type' => \Elementor\Controls_Manager::SELECT,
                'default' => 'date',
                'options' => [
                    'date' => __( 'Date', 'hello-biz-child' ),
                    'title' => __( 'Title', 'hello-biz-child' ),
                    'price' => __( 'Price', 'hello-biz-child' ),
                    'popularity' => __( 'Popularity', 'hello-biz-child' ),
                    'rating' => __( 'Rating', 'hello-biz-child' ),
                    'rand' => __( 'Random', 'hello-biz-child' ),
                    'menu_order' => __( 'Menu Order', 'hello-biz-child' ),
                ],
            ]
        );

        $this->add_control(
            'order',
            [
                'label' => __( 'Order', 'hello-biz-child' ),
                'type' => \Elementor\Controls_Manager::SELECT,
                'default' => 'DESC',
                'options' => [
                    'DESC' => __( 'Descending', 'hello-biz-child' ),
                    'ASC' => __( 'Ascending', 'hello-biz-child' ),
                ],
            ]
        );

        $this->add_control(
            'category',
            [
                'label' => __( 'Category', 'hello-biz-child' ),
                'type' => \Elementor\Controls_Manager::SELECT2,
                'multiple' => true,
                'options' => $this->get_product_categories(),
                'label_block' => true,
            ]
        );

        $this->add_control(
            'show_filters',
            [
                'label' => __( 'Show Filters', 'hello-biz-child' ),
                'type' => \Elementor\Controls_Manager::SWITCHER,
                'label_on' => __( 'Yes', 'hello-biz-child' ),
                'label_off' => __( 'No', 'hello-biz-child' ),
                'return_value' => 'yes',
                'default' => 'yes',
            ]
        );

        $this->add_control(
            'show_sorting',
            [
                'label' => __( 'Show Sorting', 'hello-biz-child' ),
                'type' => \Elementor\Controls_Manager::SWITCHER,
                'label_on' => __( 'Yes', 'hello-biz-child' ),
                'label_off' => __( 'No', 'hello-biz-child' ),
                'return_value' => 'yes',
                'default' => 'yes',
            ]
        );

        $this->end_controls_section();

        // Style Section
        $this->start_controls_section(
            'section_style',
            [
                'label' => __( 'Style', 'hello-biz-child' ),
                'tab' => \Elementor\Controls_Manager::TAB_STYLE,
            ]
        );

        $this->add_control(
            'gap',
            [
                'label' => __( 'Gap', 'hello-biz-child' ),
                'type' => \Elementor\Controls_Manager::SLIDER,
                'size_units' => [ 'px' ],
                'range' => [
                    'px' => [
                        'min' => 0,
                        'max' => 50,
                        'step' => 1,
                    ],
                ],
                'default' => [
                    'unit' => 'px',
                    'size' => 10,
                ],
                'selectors' => [
                    '{{WRAPPER}} .collection-products-grid' => 'gap: {{SIZE}}{{UNIT}};',
                ],
            ]
        );

        $this->end_controls_section();
    }

    protected function get_product_categories() {
        $categories = get_terms( 'product_cat', [
            'hide_empty' => false,
        ] );

        $options = [];
        foreach ( $categories as $category ) {
            $options[ $category->term_id ] = $category->name;
        }

        return $options;
    }

    protected function render() {
        $settings = $this->get_settings_for_display();
        ?>
        <div class="collection-products-wrapper">
            <h3>Collection Products Widget</h3>
            <p>Settings:</p>
            <ul>
                <li>Products per page: <?php echo esc_html( $settings['products_per_page'] ); ?></li>
                <li>Order by: <?php echo esc_html( $settings['orderby'] ); ?></li>
                <li>Order: <?php echo esc_html( $settings['order'] ); ?></li>
                <li>Show filters: <?php echo esc_html( $settings['show_filters'] ); ?></li>
                <li>Show sorting: <?php echo esc_html( $settings['show_sorting'] ); ?></li>
            </ul>
        </div>
        <?php
    }
}
# Common Issues and Solutions
# Issue 1: Widget Not Appearing in Panel
Solutions:
- Verify
get_categories()returns a valid category - Check that WooCommerce is active (required for ‘woocommerce-elements’ category)
- Clear Elementor cache: Elementor → Tools → Regenerate CSS
- Check PHP error logs
# Issue 2: Controls Not Showing
Solutions:
- Verify
register_controls()is called correctly - Check for PHP syntax errors
- Ensure
start_controls_section()is matched withend_controls_section() - Verify control IDs are unique
# Issue 3: Category Dropdown Empty
Solutions:
- Create some product categories in WooCommerce
- Check
get_product_categories()method - Verify WooCommerce is installed and active
# Issue 4: Settings Not Updating in Preview
Solutions:
- Refresh the Elementor editor
- Check browser console for JavaScript errors
- Verify
get_settings_for_display()is used inrender()
# Summary
The Collection Products widget now includes:
- Created widget class file
- Created registration file
- Registered widget with Elementor
- Added query controls
- Added style controls
- Tested widget in Elementor editor
Check that the widget appears in Elementor and that its settings update the preview.
# What’s Next?
In Part 4: WooCommerce Product Integration, we’ll:
- Query WooCommerce products using WP_Query
- Access and display product data
- Work with product categories and taxonomies
- Display product prices and images
- Handle product variations
- Create the initial product grid layout
Previous: ← Part 2: Understanding Elementor Widget Architecture
Next: Part 4: WooCommerce Product Integration →