This guide continues the development of the Quick Note Manager plugin. The first article, Building a WordPress Plugin: A Step-by-Step Guide, established the plugin’s foundation, including the main file, a custom database table named wp_quick_notes, and activation/deactivation hooks to manage this table. The next phase focuses on creating a user-friendly administrative interface. A robust admin page is essential for any plugin that requires user interaction, providing a centralized location for managing settings and data.
This article details the process of building this interface. The primary objectives are to create a dedicated menu item in the WordPress admin sidebar and to construct a management page. This page will serve two functions: displaying all existing notes in a structured table and providing a form for users to add new notes. This process will introduce fundamental WordPress development concepts, including action hooks for menu creation, secure form handling, and the use of the WP_List_Table class to generate tables that are consistent with the WordPress core UI.
Creating the Admin Menu and Page
To integrate the plugin into the WordPress dashboard, a dedicated menu page is required. This is achieved by using the admin_menu action hook, which is the designated entry point for adding, modifying, or removing menus in the admin area. It is critical to use this specific hook; attempting to add menus earlier in the WordPress loading sequence can result in permission errors, as the user’s capabilities have not yet been established.
The core function for this task is add_menu_page(). This function adds a new top-level menu item to the admin sidebar. Its parameters allow for precise control over the menu’s appearance and behavior.
The following code should be added to the main plugin file, quick-note-manager.php:
/**
 * Adds the admin menu page for the Quick Note Manager.
 */
function qnm_add_admin_menu() {
    add_menu_page(
        'Quick Note Manager',      // Page Title
        'Quick Notes',             // Menu Title
        'manage_options',          // Capability
        'qnm-quick-notes',         // Menu Slug
        'qnm_render_admin_page',   // Callback Function
        'dashicons-edit-page',     // Icon
        25                         // Position
    );
}
add_action('admin_menu', 'qnm_add_admin_menu');
A breakdown of the add_menu_page() parameters demonstrates their roles:
- $page_title: ‘Quick Note Manager’. This text appears in the browser’s title bar when the admin page is active.
- $menu_title: ‘Quick Notes’. This is the shorter text that appears in the admin sidebar menu itself.
- $capability: ‘manage_options’. This is a crucial security parameter. It dictates that only users with the
manage_optionscapability (typically Administrators) can see and access this menu page. - $menu_slug: ‘qnm-quick-notes’. This is a unique, URL-friendly string that identifies the page. It is used in the URL, for example:
wp-admin/admin.php?page=qnm-quick-notes. - $callback: ‘qnm_render_admin_page’. This is the name of the PHP function that will be called to generate and output the HTML content for the page.
- $icon_url: ‘dashicons-edit-page’. This specifies a built-in WordPress Dashicon to be used for the menu item, ensuring a professional and consistent look within the dashboard.
- $position: An integer that determines the menu’s position in the sidebar navigation order.
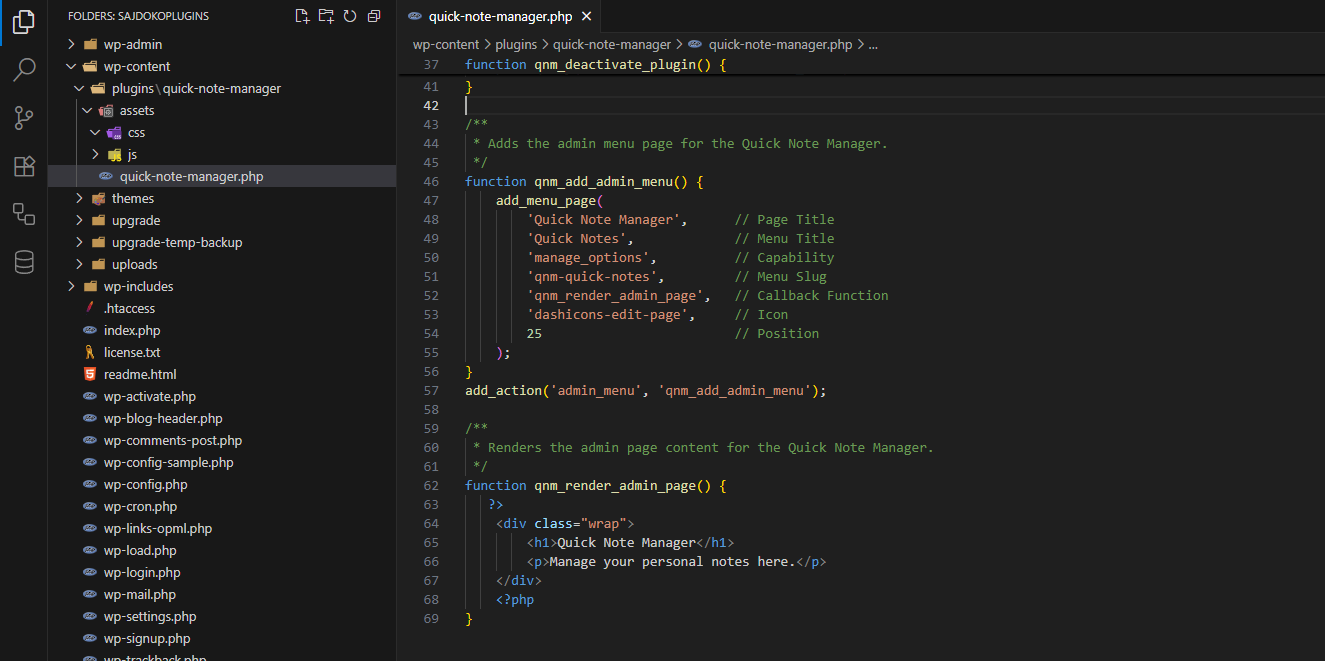
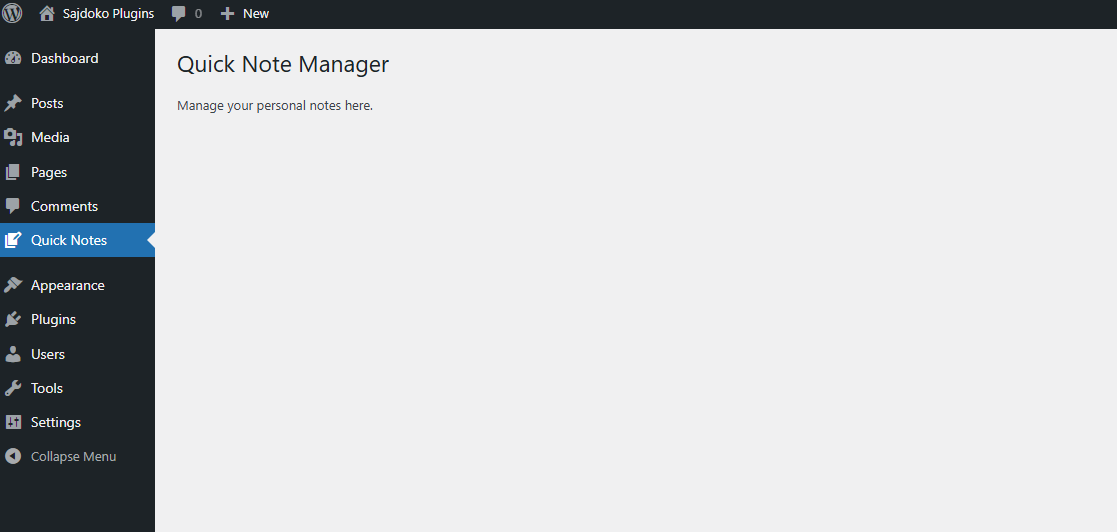
With the menu registered, the next step is to create the callback function that renders the page’s content. This function provides the basic HTML structure for the admin page. WordPress admin pages conventionally use a div with the class wrap to contain the content.
/**
 * Renders the admin page content for the Quick Note Manager.
 */
function qnm_render_admin_page() {
   ?>
    <div class="wrap">
        <h1>Quick Note Manager</h1>
        <p>Manage your personal notes here.</p>
    </div>
    <?php
}
After adding this code and activating the plugin, a new “Quick Notes” menu item will appear in the WordPress admin sidebar.
Handling Note Creation
To allow users to add new notes, a form is needed. The standard WordPress methodology for handling form submissions from the admin area involves directing the form’s action to admin-post.php. This approach ensures that the entire WordPress environment is loaded, providing access to core functions for security, user management, and database interaction.
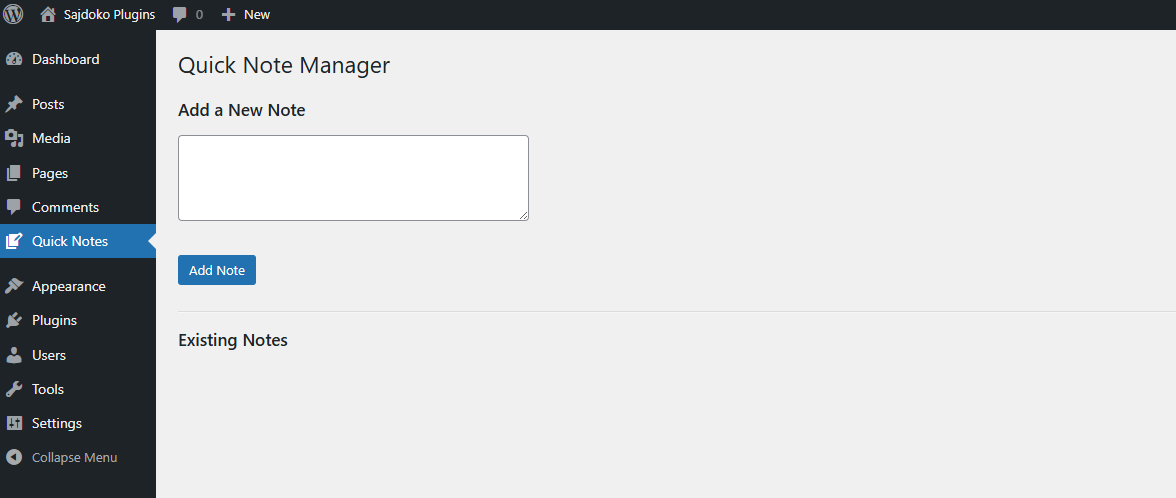
Building the “Add Note” Form
The form will contain a textarea for the note and a submit button. Two hidden fields are essential for the WordPress form handling process:
- A hidden
actionfield with a unique value. This tellsadmin-post.phpwhich action hook to trigger. - A nonce field, generated by
wp_nonce_field(), to protect against Cross-Site Request Forgery (CSRF) attacks.
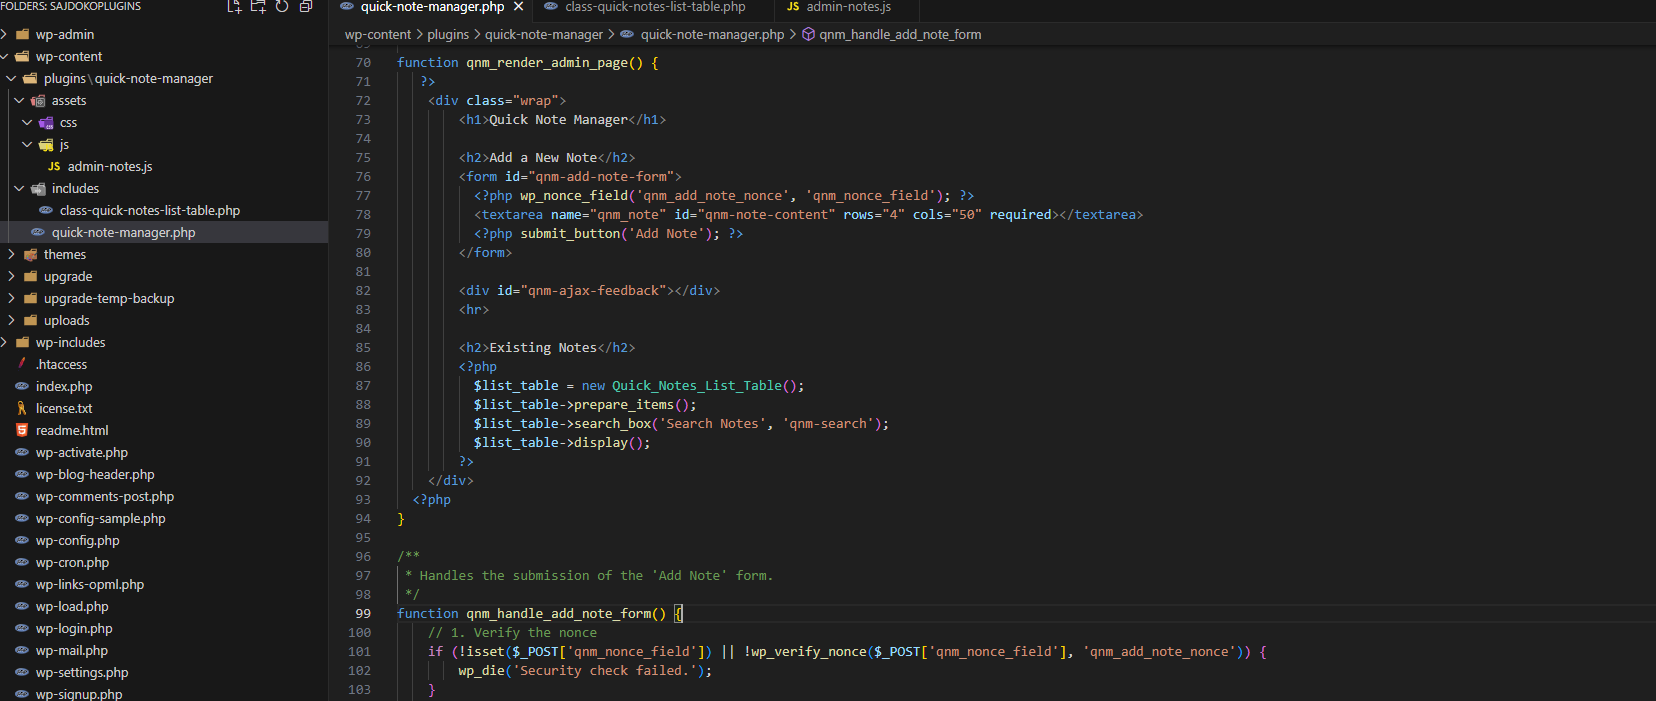
The qnm_render_admin_page() function is updated to include this form:
function qnm_render_admin_page() {
   ?>
    <div class="wrap">
        <h1>Quick Note Manager</h1>

        <h2>Add a New Note</h2>
        <form method="post" action="<?php echo esc_url(admin_url('admin-post.php')); ?>">
            <input type="hidden" name="action" value="qnm_add_note">
            <?php wp_nonce_field('qnm_add_note_nonce', 'qnm_nonce_field'); ?>
            <textarea name="qnm_note" rows="4" cols="50" required></textarea>
            <?php submit_button('Add Note'); ?>
        </form>

        <hr>

        <h2>Existing Notes</h2>
    </div>
    <?php
}
Creating the Form Handler Function
When the form is submitted, admin-post.php triggers a hook based on the hidden action field. For an action value of qnm_add_note, the hook is admin_post_qnm_add_note. A handler function must be created and attached to this hook to process the submission.
/**
* Handles the submission of the 'Add Note' form.
*/
function qnm_handle_add_note_form() {
// 1. Verify the nonce
if (!isset($_POST['qnm_nonce_field']) || !wp_verify_nonce($_POST['qnm_nonce_field'], 'qnm_add_note_nonce')) {
wp_die('Security check failed.');
}
// 2. Check user capabilities
if (!current_user_can('manage_options')) {
wp_die('You do not have sufficient permissions to perform this action.');
}
// 3. Sanitize the input
$note_content = isset($_POST['qnm_note']) ? sanitize_textarea_field($_POST['qnm_note']) : '';
if (empty($note_content)) {
// Redirect back with an error if the note is empty
wp_safe_redirect(admin_url('admin.php?page=qnm-quick-notes¬e-added=false'));
exit;
}
// 4. Insert into the database
global $wpdb;
$table_name = $wpdb->prefix . 'quick_notes';
$wpdb->insert(
$table_name,
array(
'note' => $note_content,
),
array(
'%s', // format for the 'note' column
)
);
// 5. Redirect back to the admin page with a success message
wp_safe_redirect(admin_url('admin.php?page=qnm-quick-notes¬e-added=true'));
exit;
}
add_action('admin_post_qnm_add_note', 'qnm_handle_add_note_form');
This handler function follows a secure and robust process:
- Nonce Verification: It first checks for the presence and validity of the nonce using
wp_verify_nonce(). If the check fails, execution is terminated withwp_die(). - Capability Check: It verifies that the current user has the ‘manage_options’ capability using
current_user_can(). - Input Sanitization: It retrieves the note from
$_POSTand cleans it usingsanitize_textarea_field(). This function removes potentially harmful code and standardizes formatting, which is a critical step to prevent database vulnerabilities. - Database Insertion: It uses the global
$wpdbobject and itsinsert()method to safely add the data to thewp_quick_notestable. Theinsert()method handles SQL escaping automatically. - Redirection: Finally, it uses
wp_safe_redirect()to send the user back to the notes management page, appending a query parameter to indicate the result of the operation.
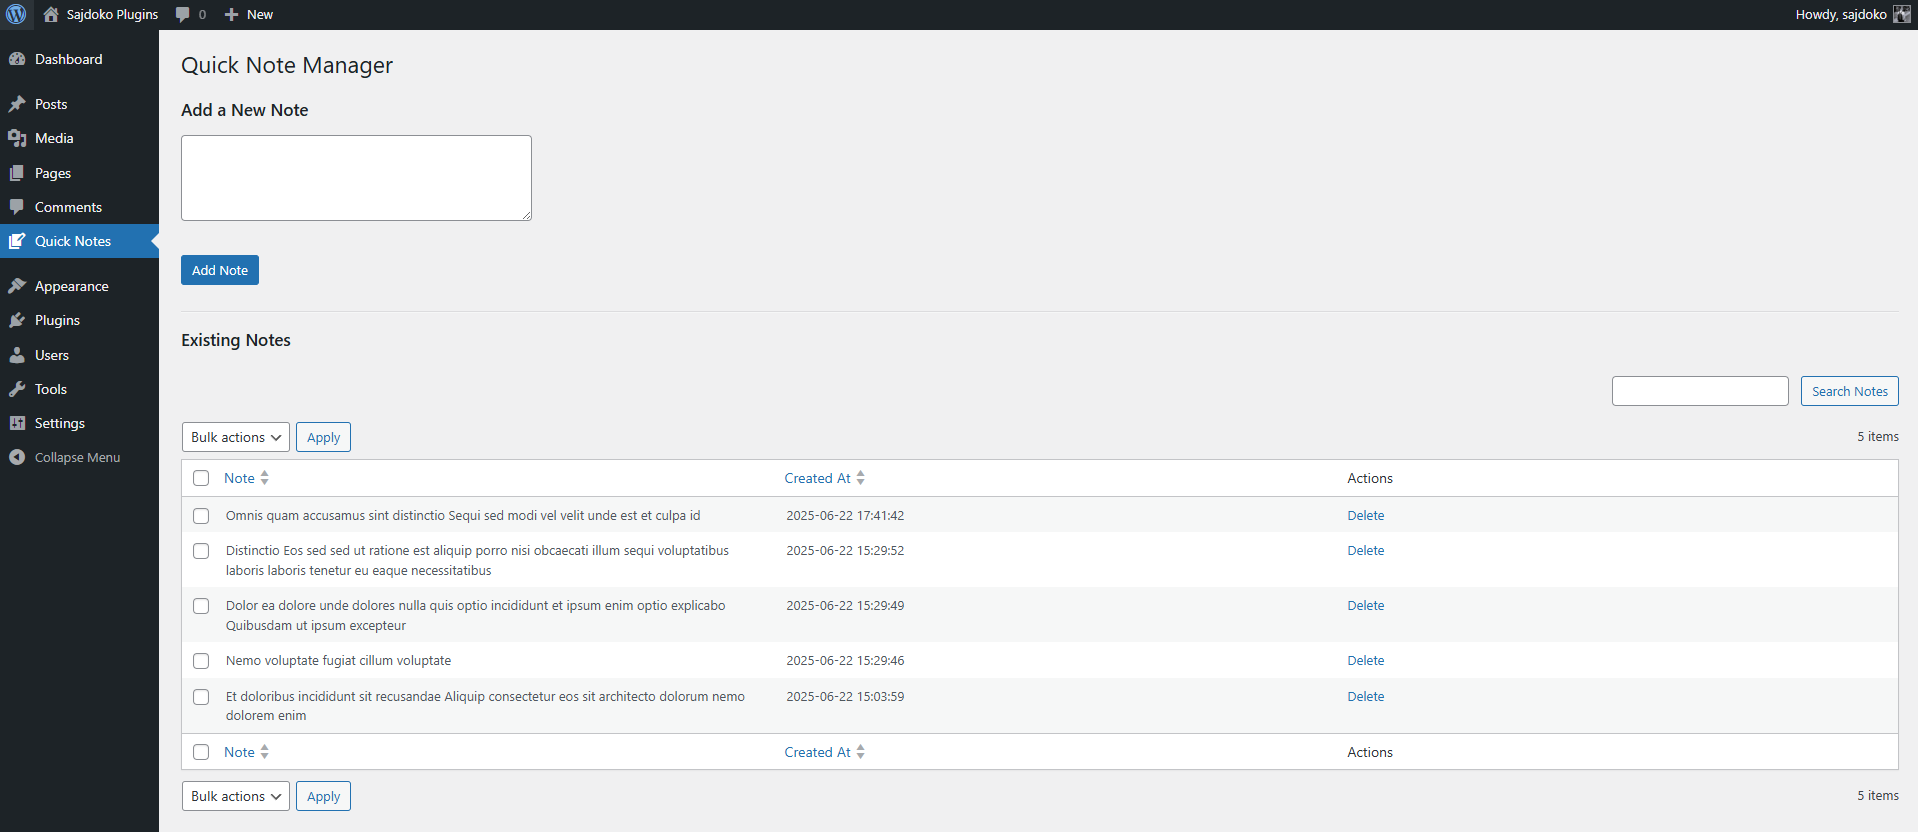
Displaying Notes with WP_List_Table
While a simple HTML table could display the notes, the standard WordPress approach is to use the WP_List_Table class. This class provides the foundation for all list tables in the WordPress admin, ensuring a consistent user experience with features like pagination, sorting, and bulk actions built-in. Using it makes a plugin feel native to the WordPress environment.
Creating the Custom Table Class
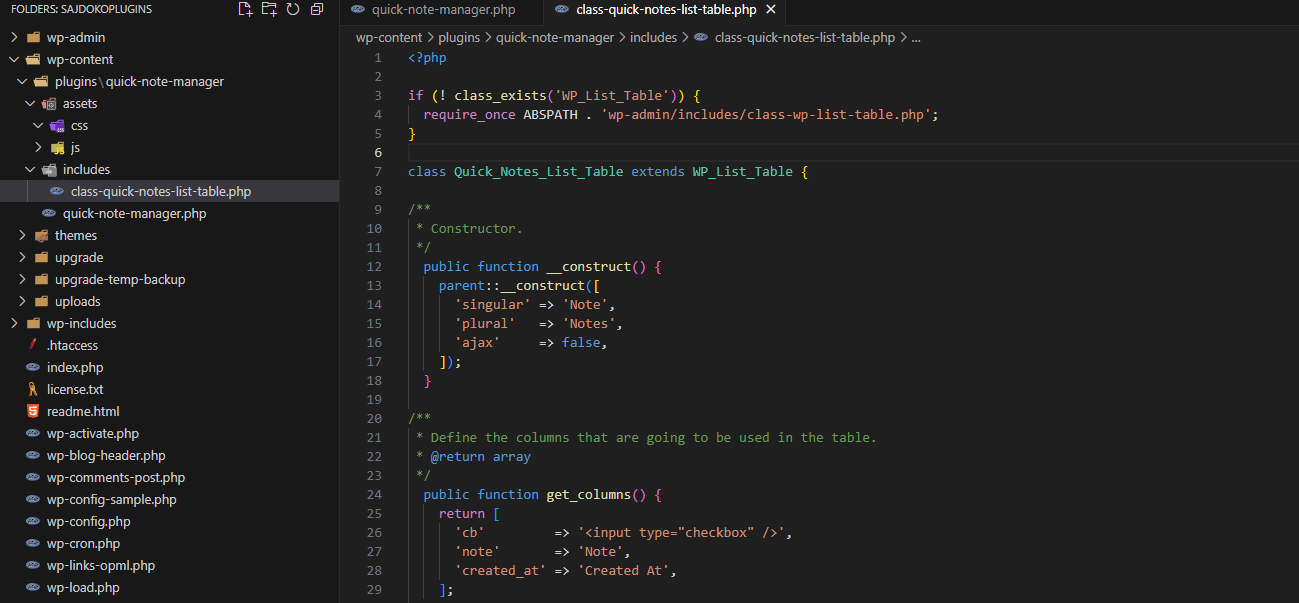
First, the file containing the WP_List_Table class must be included, as it is not loaded by default on all admin pages. Then, a new class is created that extends WP_List_Table. We will start by creating a new class file named class-quick-notes-list-table.php in the plugin directory /includes. This file will contain the custom table class that extends WP_List_Table.
if (!class_exists('WP_List_Table')) {
require_once(ABSPATH. 'wp-admin/includes/class-wp-list-table.php');
}

class Quick_Notes_List_Table extends WP_List_Table {
// Class methods will be defined here
}
Implementing Core Methods
Several methods within this class must be overridden to define the table’s structure and data.
<?php

if (! class_exists('WP_List_Table')) {
  require_once ABSPATH . 'wp-admin/includes/class-wp-list-table.php';
}

class Quick_Notes_List_Table extends WP_List_Table {

/**
 * Constructor.
 */
  public function __construct() {
    parent::__construct([
      'singular' => 'Note',
      'plural'   => 'Notes',
      'ajax'     => true,
    ]);
  }

/**
 * Define the columns that are going to be used in the table.
 * @return array
 */
  public function get_columns() {
    return [
      'cb'         => '<input type="checkbox" />',
      'note'       => 'Note',
      'created_at' => 'Created At',
      'actions'    => 'Actions',
    ];
  }

/**
 * Get bulk actions.
 * @return array
 */
  public function get_bulk_actions() {
    return [
      'bulk-delete' => 'Delete',
    ];
  }

/**
 * Process bulk actions.
 */
  public function process_bulk_action() {
    global $wpdb;
    $table_name = $wpdb->prefix . 'quick_notes';

    // Single delete
    if ($this->current_action() === 'delete' && !empty($_GET['id'])) {
      $id = absint($_GET['id']);
      $wpdb->delete($table_name, ['id' => $id]);
    }

    // Bulk delete
    if (($this->current_action() === 'bulk-delete') && !empty($_POST['note'])) {
      $ids = array_map('absint', (array) $_POST['note']);
      foreach ($ids as $id) {
        $wpdb->delete($table_name, ['id' => $id]);
      }
    }
  }

/**
 * Define sortable columns.
 * @return array
 */
  public function get_sortable_columns() {
    return [
      'created_at' => ['created_at', true],
      'note'       => ['note', false],
    ];
  }

/**
 * Prepare the items for the table to process (with search, sort, pagination).
 */
  public function prepare_items() {
    global $wpdb;
    $table_name = $wpdb->prefix . 'quick_notes';

    $per_page = 10;
    $columns  = $this->get_columns();
    $hidden   = [];
    $sortable = $this->get_sortable_columns();
    $this->_column_headers = [$columns, $hidden, $sortable];

    $this->process_bulk_action();

    $search = isset($_REQUEST['s']) ? wp_unslash($_REQUEST['s']) : '';
    $orderby = !empty($_REQUEST['orderby']) ? esc_sql($_REQUEST['orderby']) : 'created_at';
    $order = !empty($_REQUEST['order']) ? esc_sql($_REQUEST['order']) : 'DESC';

    $where = '';
    $params = [];
    if (!empty($search)) {
      $where = "WHERE note LIKE %s";
      $params[] = '%' . $wpdb->esc_like($search) . '%';
    }

    $sql = "SELECT * FROM $table_name $where ORDER BY $orderby $order";
    $data = $wpdb->get_results($wpdb->prepare($sql, ...$params), ARRAY_A);

    $current_page = $this->get_pagenum();
    $total_items  = count($data);
    $this->set_pagination_args([
      'total_items' => $total_items,
      'per_page'    => $per_page,
    ]);
    $this->items = array_slice($data, (($current_page - 1) * $per_page), $per_page);
  }

/**
 * Default column rendering.
 * @param array $item
 * @param string $column_name
 * @return mixed
 */
  public function column_default($item, $column_name) {
    switch ($column_name) {
    case 'created_at':
      return $item[$column_name];
    case 'note':
      return $this->column_note($item);
    case 'actions':
      $actions = [
        'delete' => sprintf('<a href="?page=qnm-quick-notes&action=delete&id=%s" onclick="return confirm(\'Are you sure?\')">Delete</a>', $item['id']),
      ];
      return sprintf('%s', implode(' | ', $actions));
    case 'cb':
      return $this->column_cb($item);
    default:
      return print_r($item, true);
    }
  }

/**
 * Render the 'note' column.
 * @param array $item
 * @return string
 */
  public function column_note($item) {
    return wp_trim_words(esc_html($item['note']), 25, '...');
  }

/**
 * Render the checkbox column.
 * @param array $item
 * @return string
 */
  public function column_cb($item) {
    return sprintf(
      '<input type="checkbox" name="note" value="%s" />', $item['id']
    );
  }

/**
 * Add search box above the table.
 */
  public function search_box($text, $input_id) {
    echo '<form method="get">';
    foreach ($_GET as $key => $value) {
      if ($key === 's') continue;
      echo '<input type="hidden" name="' . esc_attr($key) . '" value="' . esc_attr($value) . '" />';
    }
    echo '<p class="search-box">';
    echo '<label class="screen-reader-text" for="' . esc_attr($input_id) . '">' . esc_html($text) . ':</label>';
    echo '<input type="search" id="' . esc_attr($input_id) . '" name="s" value="' . esc_attr(isset($_REQUEST['s']) ? $_REQUEST['s'] : '') . '" />';
    submit_button($text, '', '', false, ['id' => 'search-submit']);
    echo '</p>';
    echo '</form>';
  }

/**
 * Display the table with a custom ID for JS access.
 */
  public function display() {
    $singular = $this->_args['singular'];

    $this->display_tablenav('top');

    $this->screen->render_screen_reader_content('heading_list');
    ?>
    <table id="qnm-notes-table" class="wp-list-table <?php echo implode(' ', $this->get_table_classes()); ?>">
      <?php $this->print_table_description(); ?>
      <thead>
        <tr>
          <?php $this->print_column_headers(); ?>
        </tr>
      </thead>

      <tbody id="the-list"
        <?php
        if ($singular) {
          echo " data-wp-lists='list:$singular'";
        }
        ?>
      >
        <?php $this->display_rows_or_placeholder(); ?>
      </tbody>

      <tfoot>
        <tr>
          <?php $this->print_column_headers(false); ?>
        </tr>
      </tfoot>
    </table>
    <?php
    $this->display_tablenav('bottom');
  }
}
- __construct(): The constructor calls its parent to set basic properties like the singular and plural names for the items being listed.
- get_columns(): This method returns an associative array where keys are the column identifiers and values are the display labels for the table headers.21 The
cb key is reserved for the bulk action checkbox. - prepare_items(): This is the most critical method. It fetches data from the database, sets up pagination, and assigns the data to the $this->items property for rendering.
- column_default(): This is a fallback method for any column that doesn’t have a specific rendering method. It ensures all data is displayed.
- column_{column_key}(): Methods named in this format, like
column_note()andcolumn_cb(), provide custom rendering for specific columns. Here,column_note()useswp_trim_words()to shorten long notes andesc_html()to ensure the output is safe.column_cb()renders the checkbox for each row.
Integrating the Table into the Admin Page
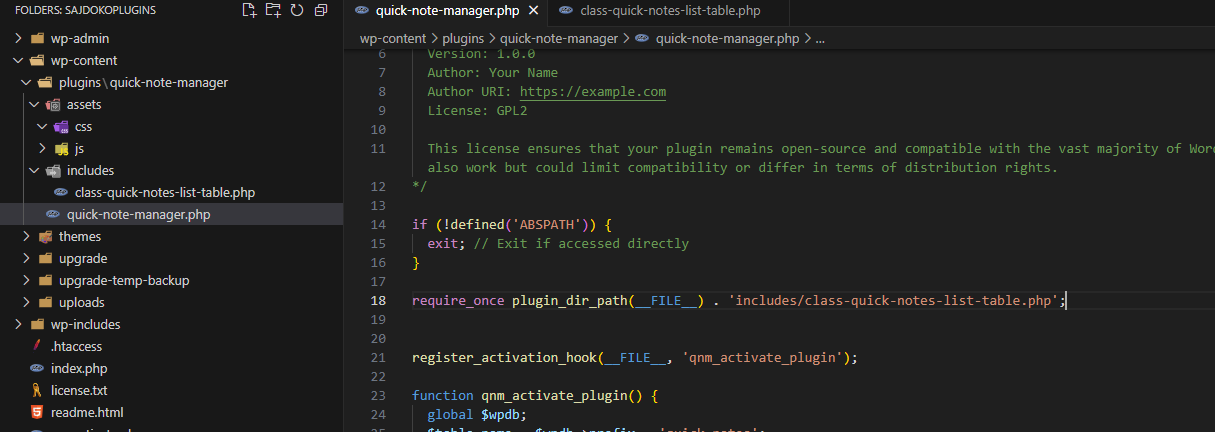
To display the custom table on the admin page, we need to include the class file in the main plugin file. This is done by adding the following line at the top of quick-note-manager.php:
require_once plugin_dir_path(__FILE__) . 'includes/class-quick-notes-list-table.php';
Finally, the WP_List_Table instance must be created and displayed within the main admin page rendering function.
The qnm_render_admin_page() function is updated one last time:
function qnm_render_admin_page() {
// The form code from before remains here...

//... after the form...

<hr>

<h2>Existing Notes</h2>
<?php
$list_table = new Quick_Notes_List_Table();
$list_table->prepare_items();
$list_table->search_box('Search Notes', 'qnm-search');
$list_table->display();
?>
</div>
<?php
}
This code instantiates the custom table class, prepares the data by calling prepare_items(), and then renders the entire table structure with display(). The result is a professional, fully-featured admin table for managing notes.
The next article, Building a WordPress Plugin: Implementing AJAX for Dynamic Content, will refactor the “Add Note” functionality to use AJAX. This will involve creating a JavaScript file to handle the form submission, a PHP function to process the request on the server, and using the WordPress AJAX API to securely connect the two. The result will be a seamless user experience where new notes appear in the list instantly after submission.
