Welcome to the third part of our Livewire series! In this article, we’ll add advanced filtering features to the product filter system, including price range filters, responsive design improvements, and enhanced interactivity with real-time updates. By the end of this tutorial, your product filter will be even more dynamic and user-friendly.
Part 2: Building the Core of a Livewire Product Filter
What We’ll Cover
- Implementing a price range filter.
- Adding a “clear filters” button to reset all filters.
- Improving performance with debouncing user input.
- Styling for responsiveness using TailwindCSS.
Adding a Price Range Filter
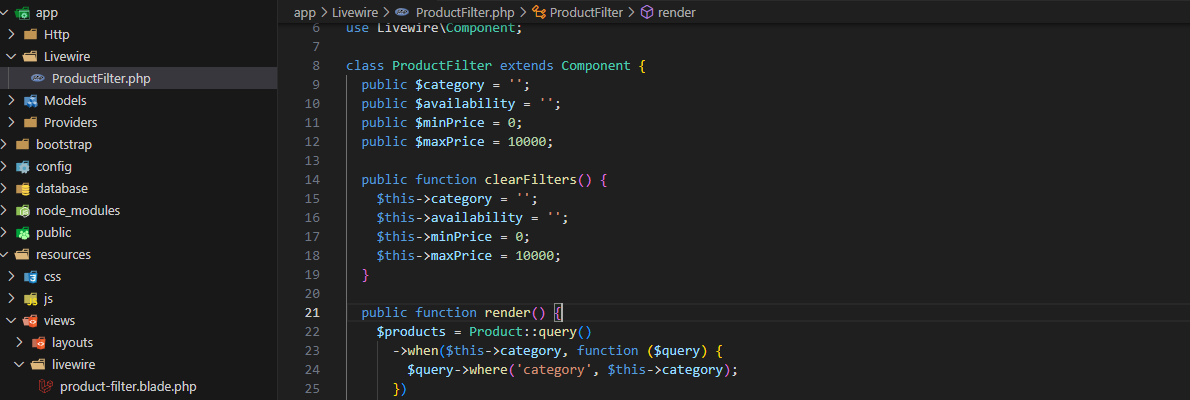
Let’s enhance the ProductFilter component by adding a price range filter. First, update the ProductFilter class to include properties for the minimum and maximum price:
<?php

namespace App\Livewire;

use Livewire\Component;
use App\Models\Product;

class ProductFilter extends Component
{
    public $category = '';
    public $availability = '';
    public $minPrice = 0;
    public $maxPrice = 10000;

    public function render()
    {
        $products = Product::query()
            ->when($this->category, function ($query) {
                $query->where('category', $this->category);
            })
            ->when($this->availability, function ($query) {
                $query->where('available', $this->availability === 'available');
            })
            ->when($this->minPrice, function ($query) {
                $query->where('price', '>=', $this->minPrice);
            })
            ->when($this->maxPrice, function ($query) {
                $query->where('price', '<=', $this->maxPrice);
            })
            ->get();

        return view('livewire.product-filter', [
            'products' => $products,
        ]);
    }
}
The price range properties ($minPrice and $maxPrice) are used to filter products based on their price values.
Update the Component Blade Template
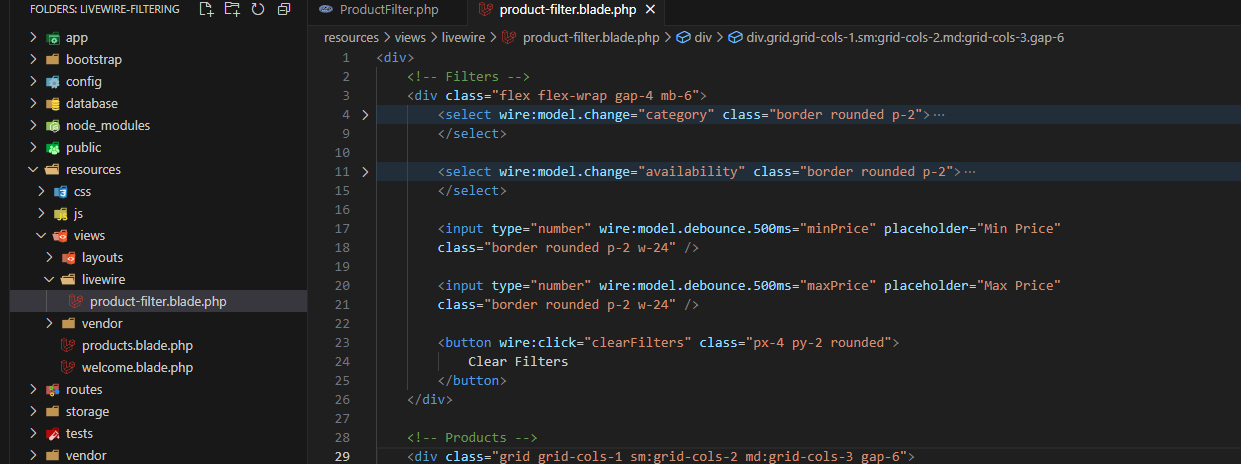
Modify the product-filter.blade.php file to include inputs for the price range:
<div>
    <!-- Filters -->
    <div class="flex flex-wrap gap-4 mb-6">
        <select wire:model.change="category" class="border rounded p-2">
            <option value="">All Categories</option>
            <option value="electronics">Electronics</option>
            <option value="fashion">Fashion</option>
            <option value="home">Home</option>
        </select>

        <select wire:model.change="availability" class="border rounded p-2">
            <option value="">All Availability</option>
            <option value="available">Available</option>
            <option value="unavailable">Unavailable</option>
        </select>

        <input type="number" wire:model="minPrice" placeholder="Min Price"
            class="border rounded p-2 w-24" />

        <input type="number" wire:model="maxPrice" placeholder="Max Price"
            class="border rounded p-2 w-24" />
    </div>

    <!-- Products -->
    <div class="grid grid-cols-1 sm:grid-cols-2 lg:grid-cols-3 gap-6">
        @foreach ($products as $product)
            <div class="bg-gray-100 border rounded p-4 text-center">
                <h3 class="font-bold">{{ $product->name }}</h3>
                <p>Category: {{ $product->category }}</p>
                <p>Price: ${{ number_format($product->price, 2) }}</p>
                <p>Status: {{ $product->available ? 'Available' : 'Unavailable' }}</p>
            </div>
        @endforeach
    </div>
</div>
Adding a “Clear Filters” Button
To allow users to reset all filters quickly, add a method to the ProductFilter component:
public function clearFilters()
{
    $this->category = '';
    $this->availability = '';
    $this->minPrice = 0;
    $this->maxPrice = 10000;
}

Then, add a button in the component template:
<button wire:click="clearFilters"
    class="px-4 py-2 rounded">
    Clear Filters
</button>
When clicked, this button resets all filters to their default values.
Improving Performance with Debouncing
To minimize the number of database queries as users type in the price fields, we can use Livewire’s debouncing feature. Update the inputs in the Blade template:
<input type="number" wire:model.debounce.500ms="minPrice" placeholder="Min Price"
    class="border rounded p-2 w-24" />

<input type="number" wire:model.debounce.500ms="maxPrice" placeholder="Max Price"
    class="border rounded p-2 w-24" />
This ensures that the component only updates the filters 500 milliseconds after the user stops typing.
Responsive Design Improvements
To make the UI more responsive, adjust the filters and product grid styles in the template. Use TailwindCSS utilities to create a mobile-friendly layout:
<div class="flex flex-wrap gap-4 mb-6">
    <!-- Filters remain the same -->
</div>

<div class="grid grid-cols-1 sm:grid-cols-2 md:grid-cols-3 gap-6">
    <!-- Product grid remains the same -->
</div>

These classes ensure the grid adjusts dynamically based on screen size.
Testing the Application
Run the Laravel server:
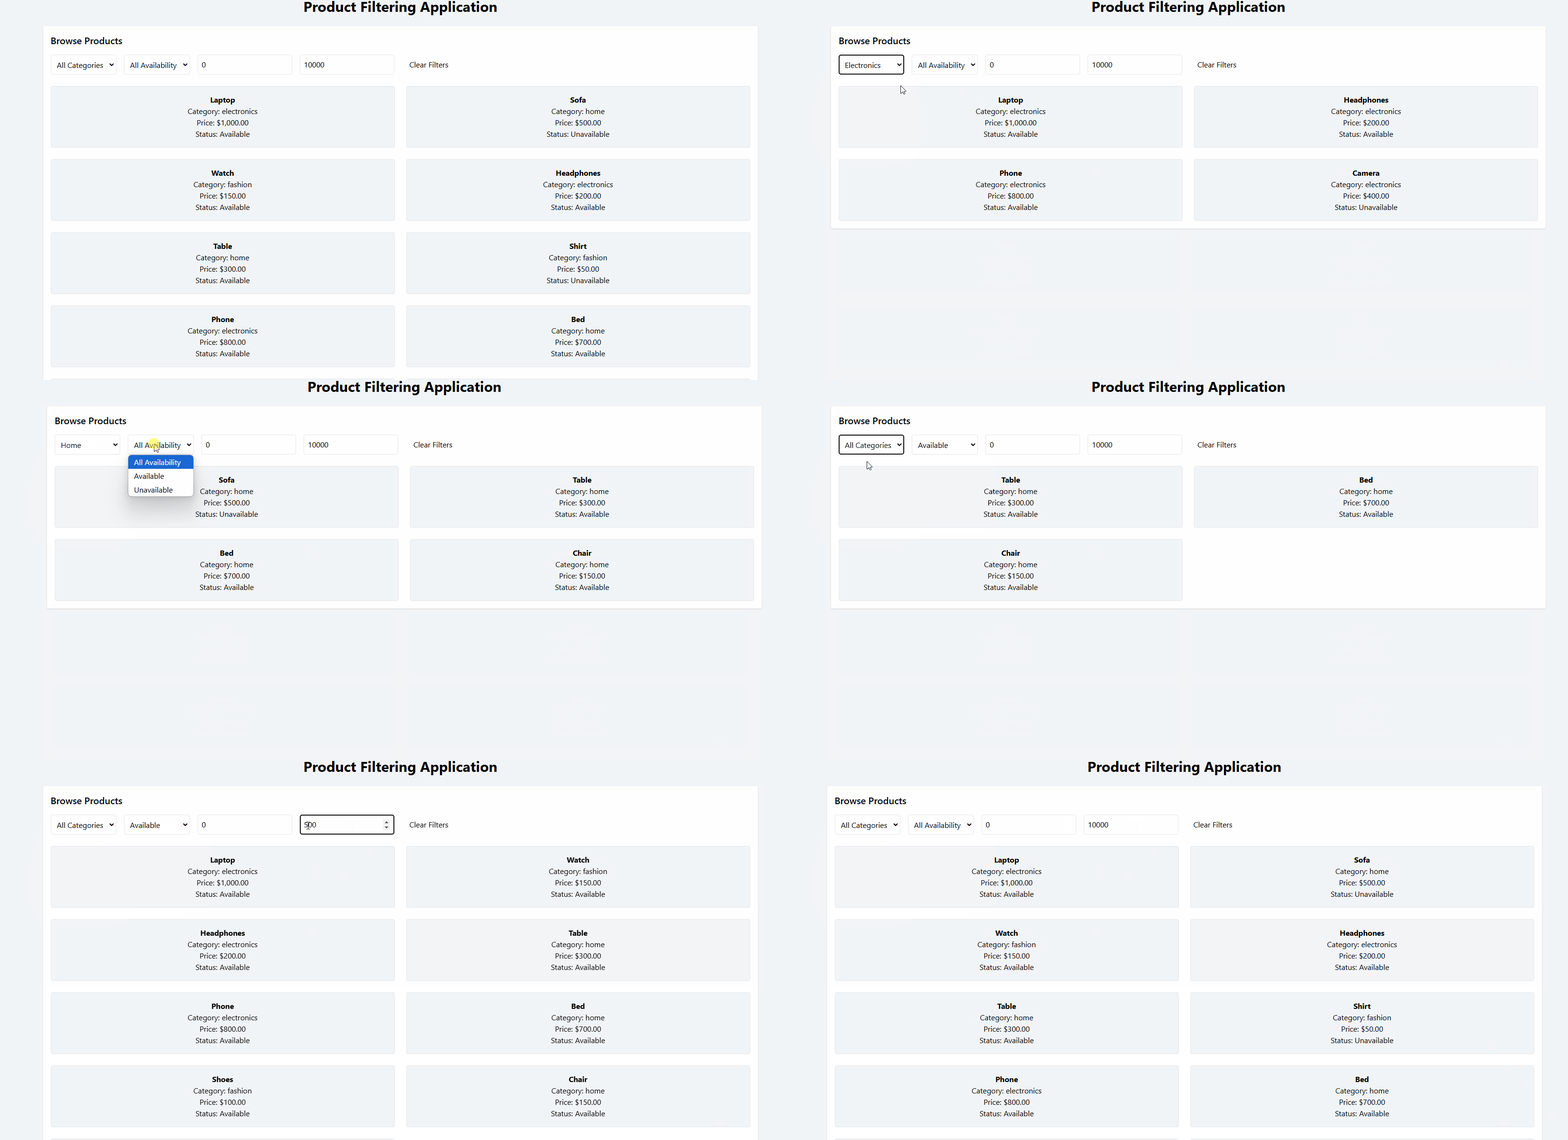
php artisan serveVisit http://localhost:8000/products. Test the price range filter, category and availability dropdowns, and the “clear filters” button. Verify that the layout looks great on both desktop and mobile devices.

Next Steps
Congratulations! You’ve added advanced features to your Livewire product filter, including price range filtering, a “clear filters” button, and improved performance. In the next article, we’ll focus on optimizing the system further with pagination and animations for a polished user experience. Stay tuned!
As always, feel free to share your progress or ask questions in the comments below. Let’s keep building!
