Welcome to the second part of our Livewire series! In this article, we’ll focus on creating the route to display our Livewire component, implementing an app-wide layout, building a functional product filtering system, and implementing basic filtering logic. By the end of this tutorial, you’ll have a working product display system with real-time filter updates, styled using TailwindCSS.
Part 1: Building a Real-Time Product Filtering System with Livewire in Laravel
Setting Up the App Layout
Before we dive into the filtering component, let’s create a consistent layout for our application. This will help us reuse the same structure across all pages. Laravel ships with TailwindCSS by default, so we’ll use it for styling.
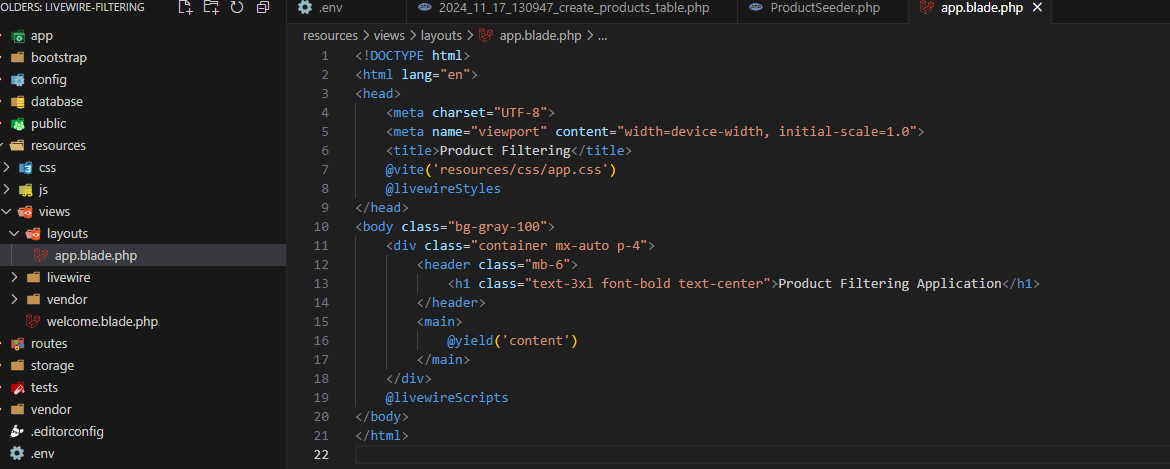
Create a new Blade layout file at resources/views/layouts/app.blade.php:
<!DOCTYPE html>
<html lang="en">
<head>
    <meta charset="UTF-8">
    <meta name="viewport" content="width=device-width, initial-scale=1.0">
    <title>Product Filtering</title>
    @vite('resources/css/app.css') <!-- Include TailwindCSS -->
    @livewireStyles
</head>
<body class="bg-gray-100">
    <div class="container mx-auto p-4">
        <header class="mb-6">
            <h1 class="text-3xl font-bold text-center">Product Filtering Application</h1>
        </header>
        <main>
            @yield('content')
        </main>
    </div>
    @livewireScripts
</body>
</html>
This layout includes TailwindCSS for styling and sets up sections for Livewire styles and scripts. It also defines a @yield('content') directive to inject page-specific content.
Installing Dependencies and Building Vite Assets
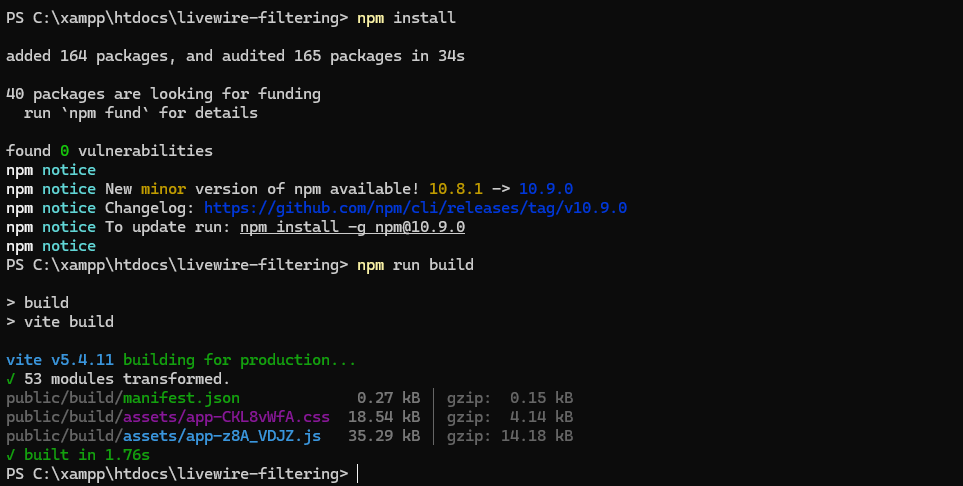
Before running the application, we need to install and build the front-end assets. Laravel uses Vite for managing CSS and JavaScript files, and it’s critical to ensure these are properly set up.
-
- Run the following command to install the required Node.js dependencies:
npm install-
- Once the installation is complete, build the assets by running:
npm run build-
- Alternatively, if you’re in development mode and want hot module replacement (HMR), run:
npm run devThe build process generates the necessary assets in the public/build directory, including the Vite manifest file that Laravel uses to load the CSS and JavaScript files.
Creating the Products View
Next, create a Blade view for the products page at resources/views/products.blade.php. This view will extend the layout and include the ProductFilter Livewire component:
@extends('layouts.app')

@section('content')
    <div class="bg-white shadow rounded p-4">
        <h2 class="text-xl font-semibold mb-4">Browse Products</h2>
        @livewire('product-filter')
    </div>
@endsection
Here, we’re extending the layouts.app layout and placing the ProductFilter Livewire component inside a styled container.
Defining the Route
To serve the products view, define a route in routes/web.php:
Route::get('/products', function () {
    return view('products');
})->name('products.index');
This route will render the products Blade view when users visit /products.
Setting Up the ProductFilter Component
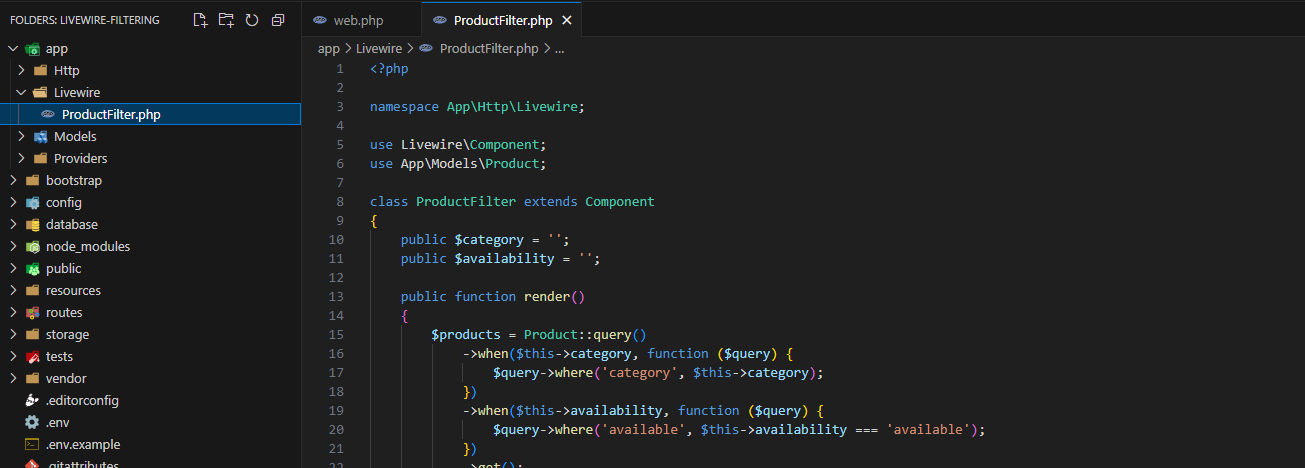
In the first article, we created the ProductFilter Livewire component. Now, let’s edit the class to manage product data and implement basic filtering logic. Open app/Http/Livewire/ProductFilter.php and update it as follows:
<?php

namespace App\Livewire;

use Livewire\Component;
use App\Models\Product;

class ProductFilter extends Component
{
    public $category = '';
    public $availability = '';

    public function render()
    {
        $products = Product::query()
            ->when($this->category, function ($query) {
                $query->where('category', $this->category);
            })
            ->when($this->availability, function ($query) {
                $query->where('available', $this->availability === 'available');
            })
            ->get();

        return view('livewire.product-filter', [
            'products' => $products,
        ]);
    }
}
This component fetches and filters products based on the values of the $category and $availability properties.
Designing the ProductFilter Blade Template
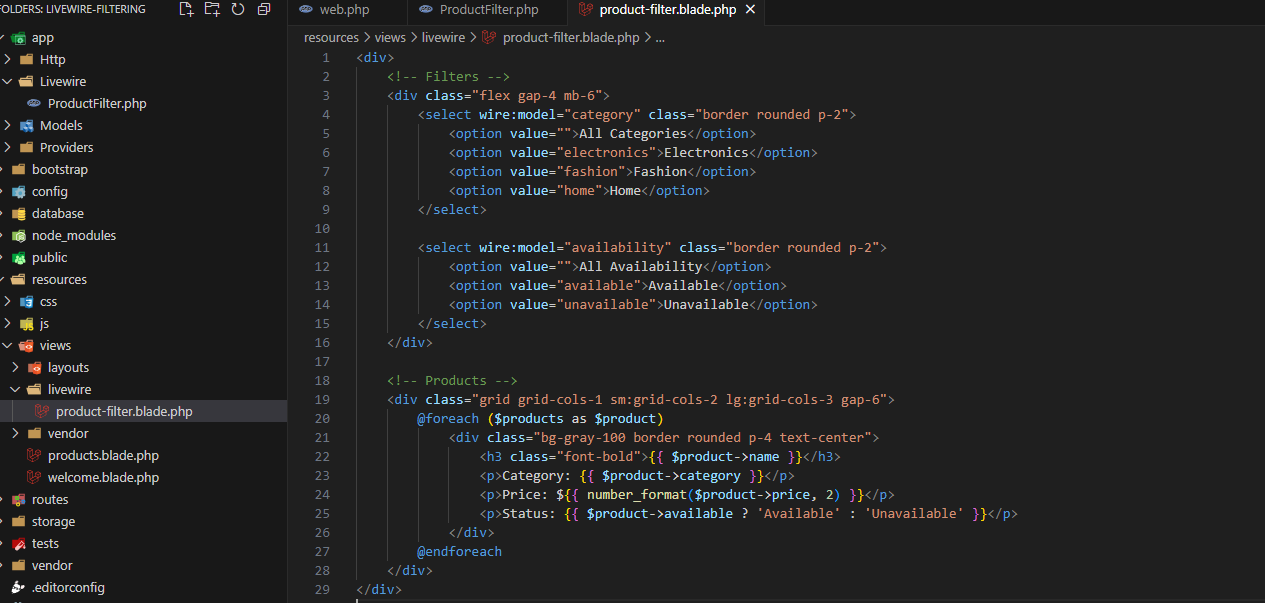
Now, let’s design the Livewire component template to display the product list and the filtering options. Open resources/views/livewire/product-filter.blade.php and add the following code:
<div>
    <!-- Filters -->
    <div class="flex gap-4 mb-6">
        <select wire:model="category" class="border rounded p-2">
            <option value="">All Categories</option>
            <option value="electronics">Electronics</option>
            <option value="fashion">Fashion</option>
            <option value="home">Home</option>
        </select>

        <select wire:model="availability" class="border rounded p-2">
            <option value="">All Availability</option>
            <option value="available">Available</option>
            <option value="unavailable">Unavailable</option>
        </select>
    </div>

    <!-- Products -->
    <div class="grid grid-cols-1 sm:grid-cols-2 lg:grid-cols-3 gap-6">
        @foreach ($products as $product)
            <div class="bg-gray-100 border rounded p-4 text-center">
                <h3 class="font-bold">{{ $product->name }}</h3>
                <p>Category: {{ $product->category }}</p>
                <p>Price: ${{ number_format($product->price, 2) }}</p>
                <p>Status: {{ $product->available ? 'Available' : 'Unavailable' }}</p>
            </div>
        @endforeach
    </div>
</div>
This template includes TailwindCSS classes for styling the dropdowns, filters, and product grid.
Testing the Application
Start the Laravel development server if it isn’t running already:
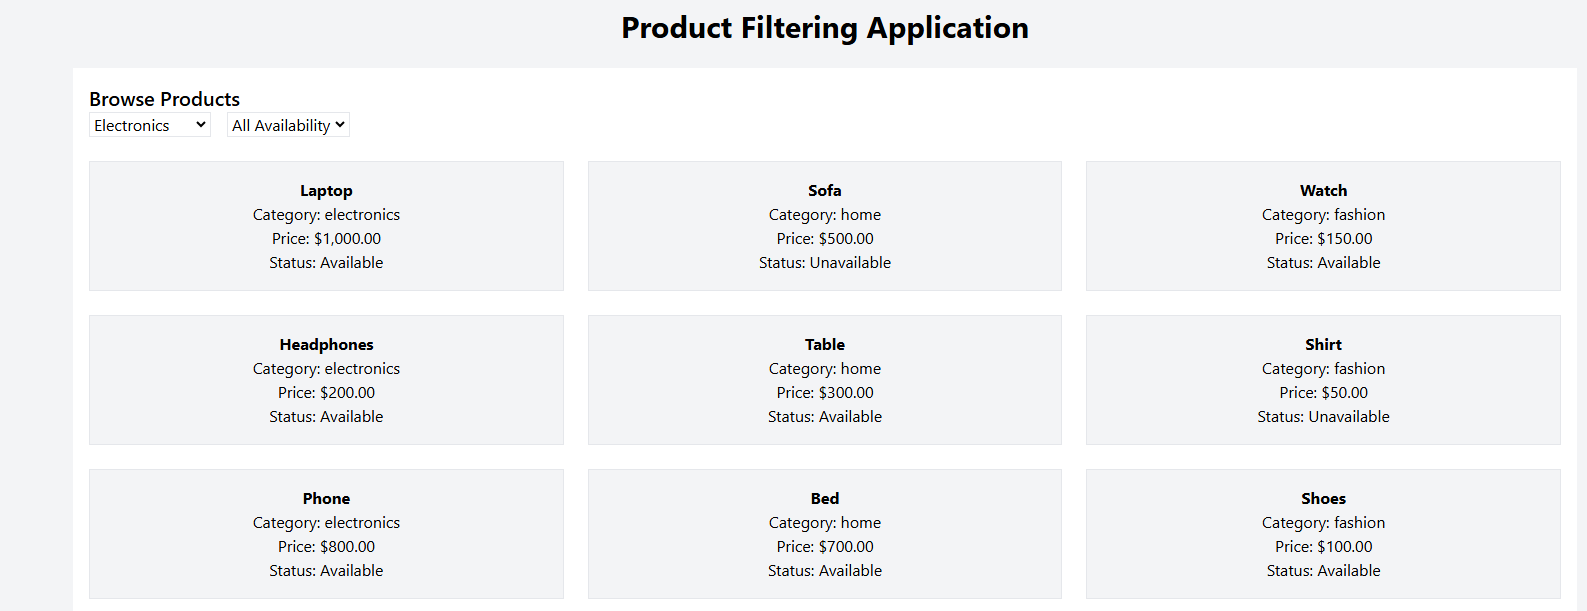
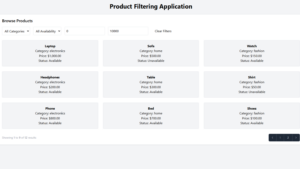
php artisan serveVisit http://localhost:8000/products. You should see a styled page with filters and a grid of products that update dynamically based on your selections.
Next Steps
Congratulations! You’ve successfully created a route, an app layout, and a Livewire product filtering UI styled with TailwindCSS. In the next article, we’ll explore advanced features such as adding price range filters, debouncing user input, and implementing pagination. Stay tuned!
Feel free to share your progress or ask questions in the comments below.
