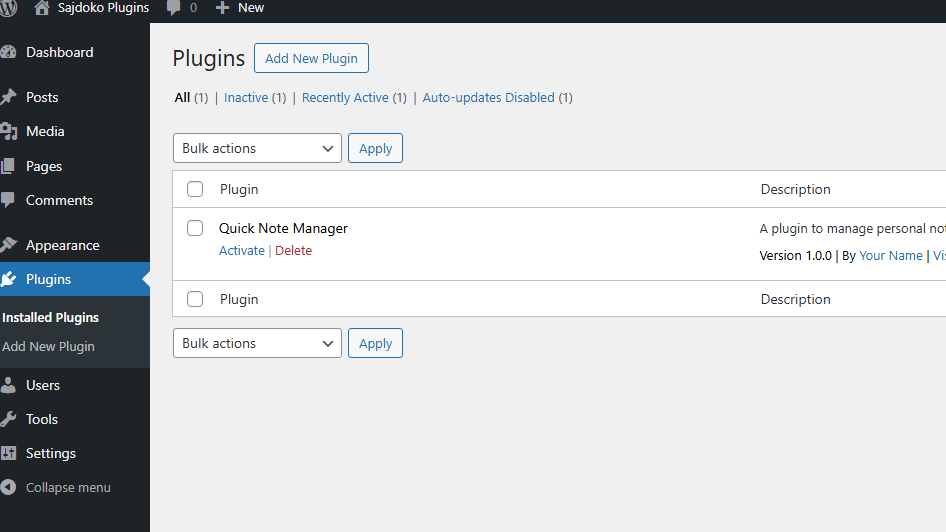
This series of articles may be a great starting point in your journey into plugin development. Whether you’re a complete beginner or someone looking to refine your skills, this guide aims to simplify the process and provide you with hands-on experience. We’re going to build something practical and meaningful: a Quick Note Manager. This project has been carefully designed to introduce you to essential concepts in plugin creation while equipping you with skills that can be applied to larger projects. By the end of this series, you’ll have a plugin that’s not only functional but also packed with modern WordPress features like AJAX, widgets, and frontend integration. It’s the perfect balance of theory and practice, ensuring you learn by doing and create something genuinely useful in the process.
You can find the complete source code for the Quick Note Manager plugin in the GitHub repository. Feel free to explore, fork, or contribute to the project to enhance your learning experience and help improve the plugin for the community!
In this first article, we’ll lay the foundation for our plugin. Imagine this as preparing the land before building your dream house. The tools, the setup, and even the blueprint must be ready before the real work begins. Let’s dive in!
What Are We Building?
Our goal is to create a Quick Note Manager plugin—a simple, yet versatile tool for managing personal notes. Think of it as a digital sticky-note board, embedded right within WordPress.
This plugin will offer the following features:
- Add, edit, and delete notes: Users can create, update, and remove notes from the WordPress admin dashboard.
- Display notes on the frontend: Using a shortcode, users can display their notes on a page or post.
- Widget integration: Recent notes can be displayed in the sidebar for quick access.
Whether you’re building this plugin for personal use or as a stepping stone into professional plugin development, you’ll find the process rewarding and insightful. By the end of this first article, you’ll have the scaffolding for your plugin ready to go.
Setting Up Your Environment
Like any good project, success starts with preparation. A tailored development environment ensures smooth development by allowing you to test and refine your plugin without affecting live sites. Let’s set up a development environment specifically for WordPress plugin development.
1. Installing WordPress Locally
To develop and test plugins, it’s best to work in a local environment. Why? Local installations are faster, safer, don’t require an internet connection, and allow for easier debugging without affecting live sites. For detailed instructions on setting up WordPress locally, you can refer to my article on installing WordPress on localhost using XAMPP. There are several tools you can use:
- Local by Flywheel: A beginner-friendly tool designed specifically for WordPress developers.
- XAMPP: A more general-purpose option that sets up Apache, PHP, and MySQL on your system.
- Laragon: A lightweight option with built-in WordPress setup capabilities.
Install your preferred tool and create a fresh WordPress installation. This will serve as your sandbox for testing and debugging, offering a safe environment for isolated experimentation and error testing without risking live site functionality.
2. Preparing Your Tools
With WordPress installed, you’ll need a set of tools to help you write, debug, and manage your plugin’s codebase:
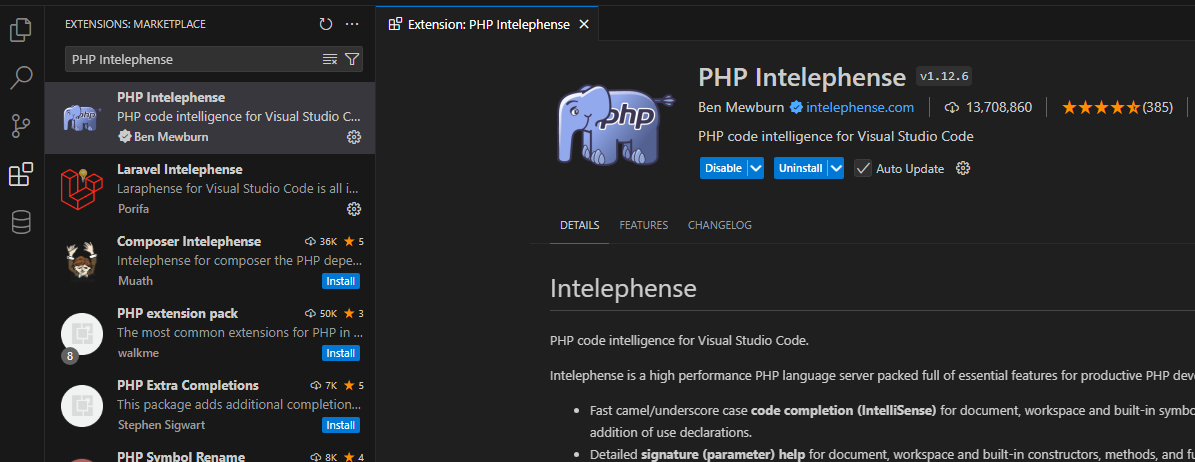
- Text editor: A modern editor like VS Code is essential. Install extensions like PHP Intelephense, which provides intelligent code completion and error detection for PHP, and WordPress Snippet Generator, which helps quickly create WordPress-specific code snippets, to boost productivity
- Debugging tools: Enable
WP_DEBUGin yourwp-config.phpfile to catch PHP errors. Tools like Xdebug are also invaluable for in-depth debugging. For instance, Xdebug can help you step through your code line by line, making it easier to identify the source of a logic error or unexpected behavior in your plugin. - Version control: Use Git to track changes to your plugin. Platforms like GitHub or Bitbucket are great for remote backups and collaboration. Version control is crucial as it allows you to revert changes when needed and facilitates seamless collaboration in team projects.
With these tools in hand, you’re ready to start coding! Taking the time to prepare ensures a smoother development process, reduces debugging headaches, and helps you focus on building a high-quality plugin. Let’s dive in and bring your ideas to life!
Creating the Plugin Folder and Main File
WordPress plugins live in the wp-content/plugins/ directory. Our first step is to create a folder for our plugin and write the main plugin file.
1. Define the Directory Structure
Every plugin benefits from a clear and organized file structure. Here’s the structure we’ll use:
  quick-note-manager/
  ├── quick-note-manager.php
  ├── assets/
  │   ├── css/
  │   ├── js/
  ├── includes/
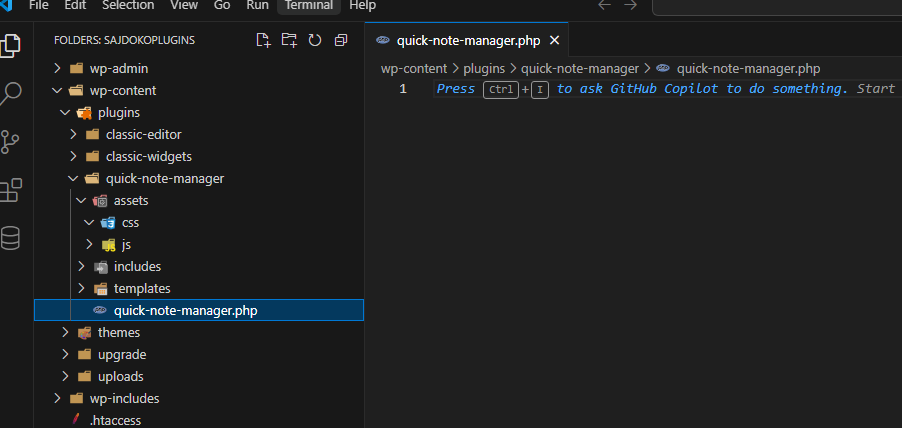
Here’s what each folder does:
– quick-note-manager.php: The main plugin file. This is where WordPress recognizes the plugin and its core logic begins.
– assets/: Stores CSS and JavaScript files for styling and interactivity.
– includes/: Contains reusable PHP code like functions and class definitions.
Create the folder quick-note-manager in your local wp-content/plugins directory, then add an empty file named quick-note-manager.php inside it.
2. Write the Plugin Header
Open quick-note-manager.php in your editor and add the following code:
  <?php
/*
Plugin Name: Quick Note Manager
Plugin URI: https://sajdoko.com/blog/building-a-wordpress-plugin-a-step-by-step-guide
Description: A plugin to manage personal notes in WordPress.
Version: 1.0.0
Author: Your Name
Author URI: https://example.com
License: GPL2

This license ensures that your plugin remains open-source and compatible with the vast majority of WordPress projects. Other licenses, such as MIT or Apache 2.0, may also work but could limit compatibility or differ in terms of distribution rights.
*/
This header provides essential metadata about your plugin. WordPress uses it to list the plugin in the admin panel. Additionally, well-crafted metadata can improve the plugin’s SEO and discoverability in WordPress directories, making it easier for users to find and understand your plugin. Feel free to replace placeholders with your details.
Activation and Deactivation Hooks
When users activate or deactivate your plugin, you can hook into those events to perform specific actions. For example, we’ll create a database table to store notes when the plugin is activated. Optionally, we’ll clean up this table when the plugin is deactivated.
1. Add Activation Hook
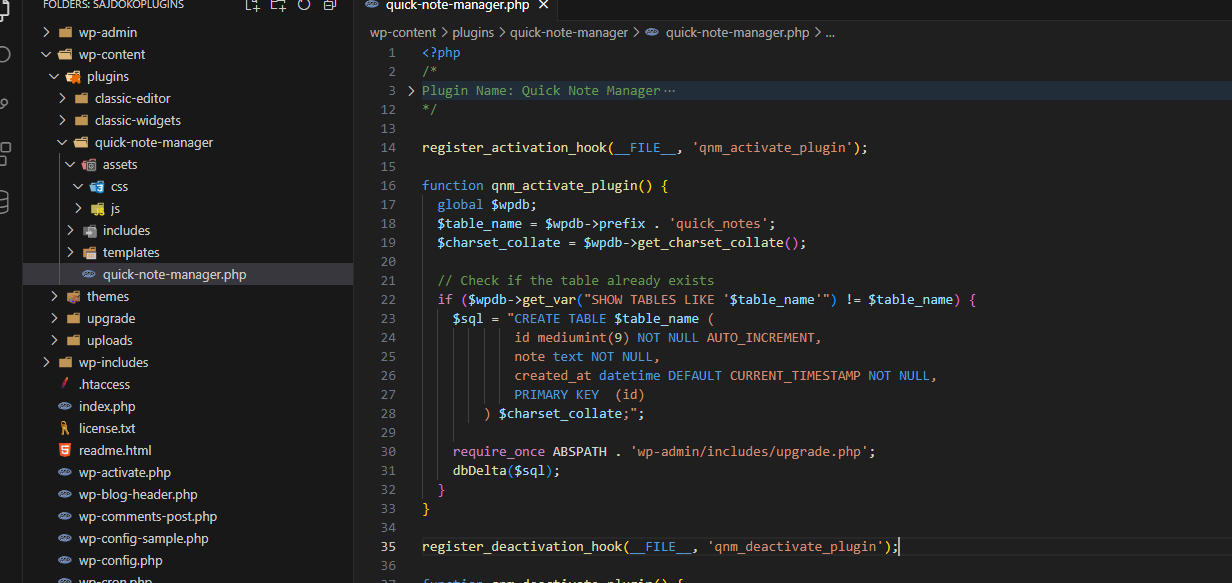
We’ll use register_activation_hook to run code when the plugin is activated:
register_activation_hook( __FILE__, 'qnm_activate_plugin' );

function qnm_activate_plugin() {
    global $wpdb;
    $table_name = $wpdb->prefix . 'quick_notes';
    $charset_collate = $wpdb->get_charset_collate();

    // Check if the table already exists
    if ($wpdb->get_var("SHOW TABLES LIKE '$table_name'") != $table_name) {
        $sql = "CREATE TABLE $table_name (
            id mediumint(9) NOT NULL AUTO_INCREMENT,
            note text NOT NULL,
            created_at datetime DEFAULT CURRENT_TIMESTAMP NOT NULL,
            PRIMARY KEY  (id)
        ) $charset_collate;";

        require_once( ABSPATH . 'wp-admin/includes/upgrade.php' );
        dbDelta( $sql );
    }
}
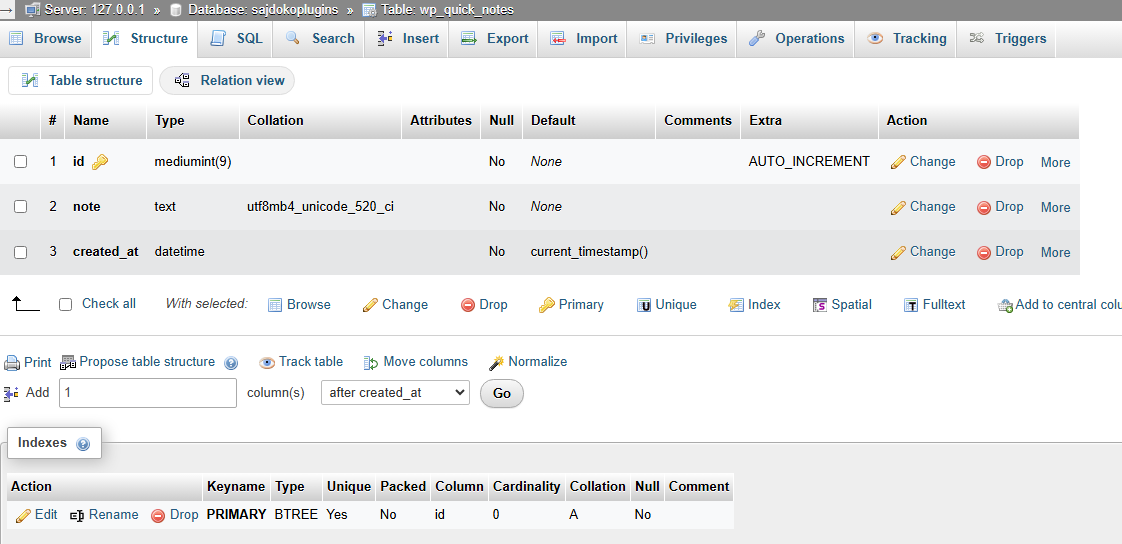
This code creates a new database table named wp_quick_notes (or similar, based on your site’s prefix). The table will store each note along with a timestamp.
2. Add Deactivation Hook
If you want to clean up when the plugin is deactivated, use register_deactivation_hook:
register_deactivation_hook( __FILE__, 'qnm_deactivate_plugin' );

function qnm_deactivate_plugin() {
    global $wpdb;
    $table_name = $wpdb->prefix . 'quick_notes';
    $wpdb->query( "DROP TABLE IF EXISTS $table_name" );
}
However, think carefully before deleting user data on deactivation. Often, it’s better to leave data intact unless explicitly requested.
Bringing It All Together
Congratulations! You now have the foundation of your plugin ready. Activate it from the WordPress admin panel, and your custom database table will be created automatically. After activation, check the database to ensure the table was created successfully, and test basic functionality to confirm the plugin is running as expected. This is just the beginning—think of it as laying the foundation and framing the structure of your plugin. Just like in building a house, this step ensures a solid base for adding advanced features like dynamic functionality, user-friendly interfaces, and frontend integrations.
What’s Next?
In the next article, Building a WordPress Plugin: Creating the Admin Dashboard Page, we’ll add functionality for managing notes in the admin dashboard. These features are crucial for enhancing user interaction and ensuring a seamless admin experience. You’ll learn about hooks, filters, and how to create a custom admin page, all of which are fundamental to extending WordPress functionality effectively. We’ll also explore adding AJAX functionality to make the plugin more dynamic and user-friendly.
Let’s keep building!
