Welcome to this comprehensive guide on using Livewire to build a real-time product filtering system in Laravel. Whether you’re new to Livewire or looking to refine your skills, this guide will walk you through the setup process and introduce the foundational concepts for creating a powerful, dynamic product filtering experience.
What We’ll Build Together
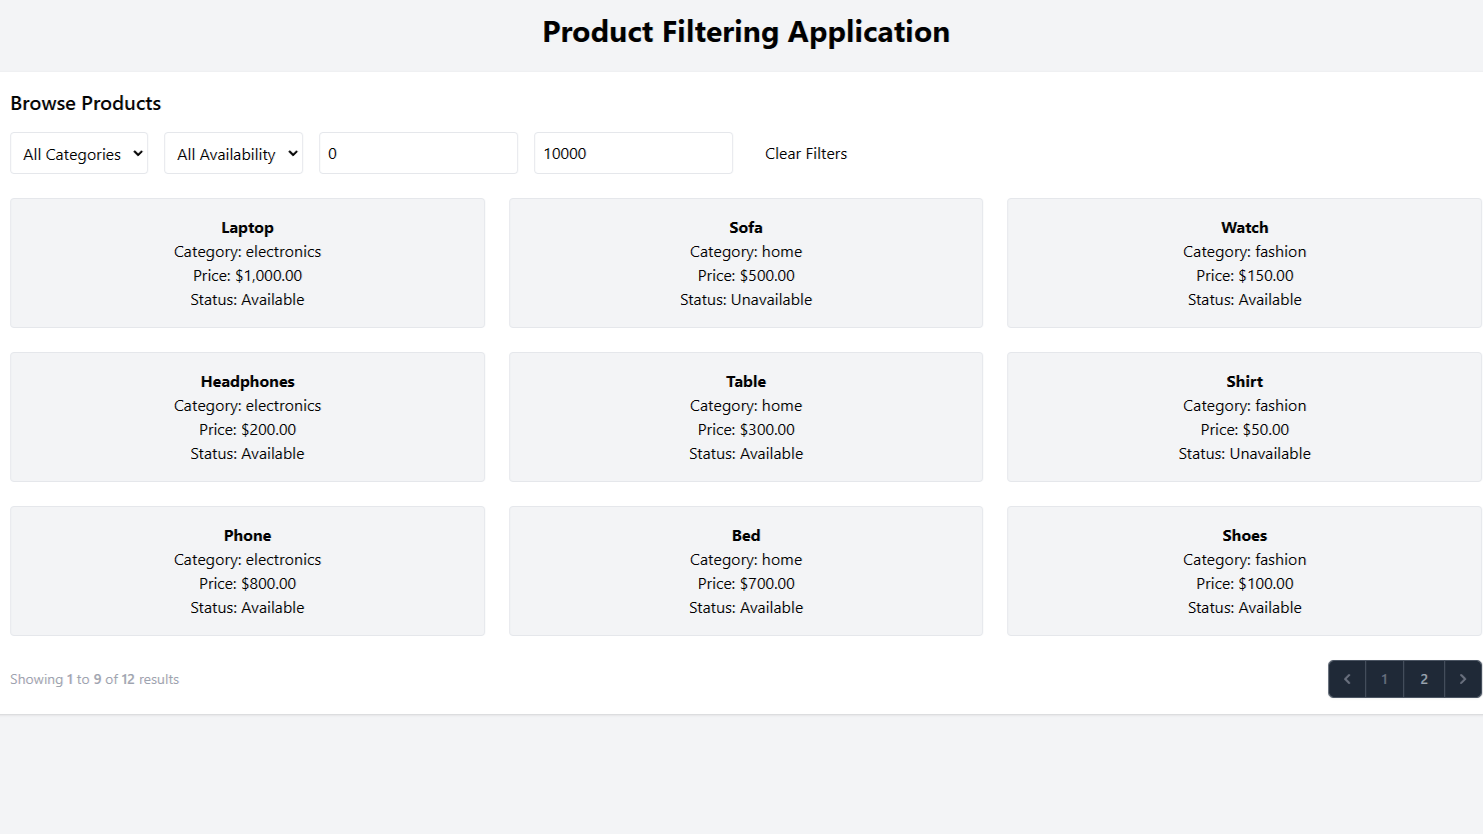
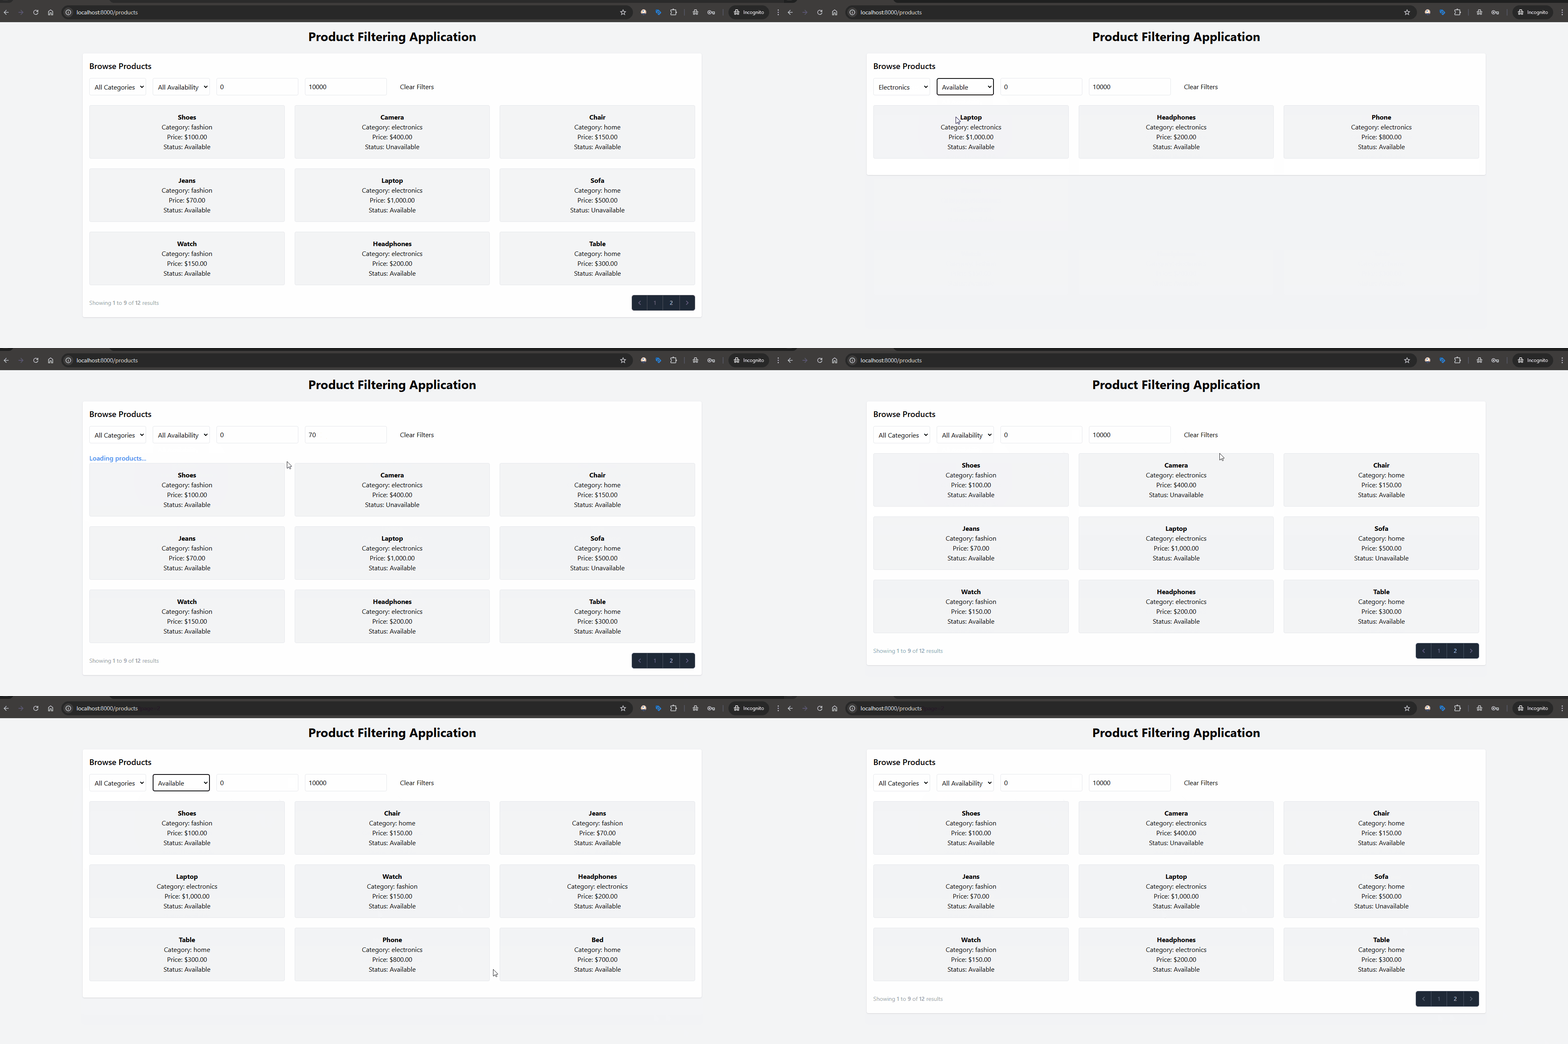
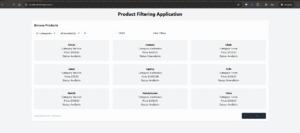
Filtering products dynamically is a common feature in modern e-commerce and catalog-based applications. Our goal in this series is to build a feature-rich filtering system using Livewire that allows users to:
- Filter products by category, price range, and availability in real-time.
- Clear or reset filters easily.
- Experience smooth interactions without page reloads.
- Enjoy a responsive and visually appealing UI.
By the end of this guide, you’ll have a robust filtering system and the knowledge to extend it with advanced features like saved filters, animations, and more. Let’s get started by setting up our environment and creating the building blocks for our application.
Why Livewire for Real-Time Filtering?
Livewire is a Laravel package that simplifies building dynamic, reactive applications by allowing you to write most of the logic in PHP while still achieving the responsiveness of modern JavaScript frameworks. Here are some reasons why Livewire is perfect for this use case:
- It integrates seamlessly with Laravel’s ecosystem, reducing development complexity.
- Real-time updates are handled effortlessly with its reactive data binding.
- It eliminates the need for a separate frontend framework, such as React or Vue.
- Writing backend and frontend logic in one place makes it beginner-friendly and efficient.
Setting Up the Laravel Project
Let’s begin by setting up a new Laravel project:
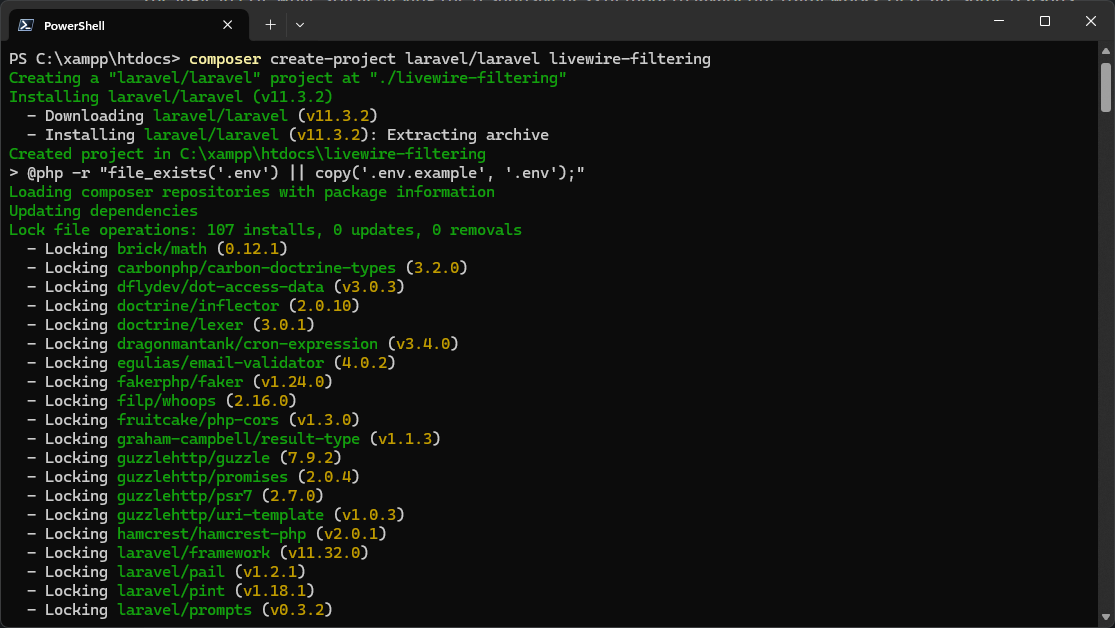
composer create-project laravel/laravel livewire-filteringNavigate to the project directory:
cd livewire-filteringStart the development server:
php artisan serveOpen http://localhost:8000 in your browser to see the default Laravel welcome page.
Installing Livewire
Next, we’ll install Livewire. Run the following command:
composer require livewire/livewireAfter installation, publish Livewire’s configuration and assets:
php artisan livewire:publishWith Livewire installed, we’re ready to create components and add interactivity to our application.
Creating a Database and Configuring Laravel
We’ll need a database to store product data. Create a new database named livewire_filtering using a tool like phpMyAdmin or MySQL Workbench.
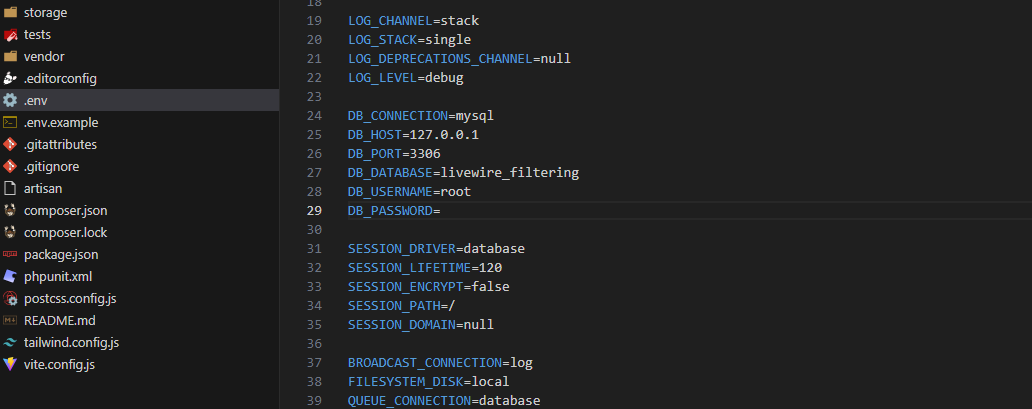
Update the .env file with your database credentials:
DB_CONNECTION=mysql
DB_HOST=127.0.0.1
DB_PORT=3306
DB_DATABASE=livewire_filtering
DB_USERNAME=root
DB_PASSWORD=yourpassword
Run Laravel’s migration command to create default tables:
php artisan migrateNow your Laravel application is connected to a database and ready to store data.
Creating a Livewire Component
Let’s create our first Livewire component for filtering products:
php artisan make:livewire ProductFilterThis generates two files:
- A PHP class at
app/Http/Livewire/ProductFilter.php, where we’ll define the logic for filtering products. - A Blade template at
resources/views/livewire/product-filter.blade.php, which will render the filtered products.
Designing the Product Display
We need a basic structure to display products dynamically.
Now, let’s create the `Product` model along with its migration file:
php artisan make:model Product -mThis command generates a `Product` model in app/Models/Product.php and a migration file in the database/migrations directory.
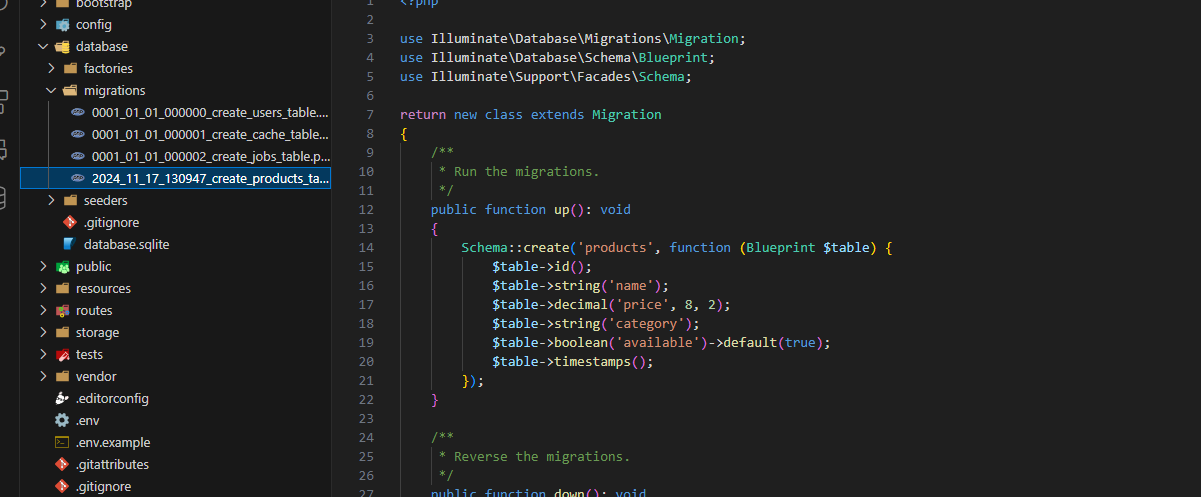
Edit the migration file to define the table structure:
Schema::create('products', function (Blueprint $table) {
    $table->id();
    $table->string('name');
    $table->decimal('price', 8, 2);
    $table->string('category');
    $table->boolean('available')->default(true);
    $table->timestamps();
});
Run the migration:
php artisan migrateSeed the database with sample products using a seeder:
php artisan make:seeder ProductSeederIn the seeder file, add sample data:
<?php

namespace Database\Seeders;

use Illuminate\Database\Seeder;
use App\Models\Product;

class ProductSeeder extends Seeder
{
    public function run()
    {
        Product::create(['name' => 'Laptop', 'price' => 1000, 'category' => 'electronics', 'available' => true]);
        Product::create(['name' => 'Sofa', 'price' => 500, 'category' => 'home', 'available' => false]);
        Product::create(['name' => 'Watch', 'price' => 150, 'category' => 'fashion', 'available' => true]);
        Product::create(['name' => 'Headphones', 'price' => 200, 'category' => 'electronics', 'available' => true]);
        Product::create(['name' => 'Table', 'price' => 300, 'category' => 'home', 'available' => true]);
        Product::create(['name' => 'Shirt', 'price' => 50, 'category' => 'fashion', 'available' => false]);
        Product::create(['name' => 'Phone', 'price' => 800, 'category' => 'electronics', 'available' => true]);
        Product::create(['name' => 'Bed', 'price' => 700, 'category' => 'home', 'available' => true]);
        Product::create(['name' => 'Shoes', 'price' => 100, 'category' => 'fashion', 'available' => true]);
        Product::create(['name' => 'Camera', 'price' => 400, 'category' => 'electronics', 'available' => false]);
        Product::create(['name' => 'Chair', 'price' => 150, 'category' => 'home', 'available' => true]);
        Product::create(['name' => 'Jeans', 'price' => 70, 'category' => 'fashion', 'available' => true]);
    }
}
Run the seeder:
php artisan db:seed --class=ProductSeederNext Steps
We’ve now set up our Laravel project, installed Livewire, created a database, and prepared a basic product structure. In the next part of this guide, we’ll focus on building the product filtering functionality, adding real-time interactivity using Livewire, and displaying products dynamically in our application. Stay tuned!
Feel free to ask questions or share your progress in the comments below. Let’s build something amazing together!
